June Update for Lightroom Classic, Lightroom, and Camera Raw
Adobe has released updates for the Lightroom family of apps that include the usual new camera and lens support, performance enhancements, bug fixes, and a few new features. Here’s a look at what’s new, starting with what we can find in Masking.
Add and Remove Grain in Masking (LrC and Lr desktop)
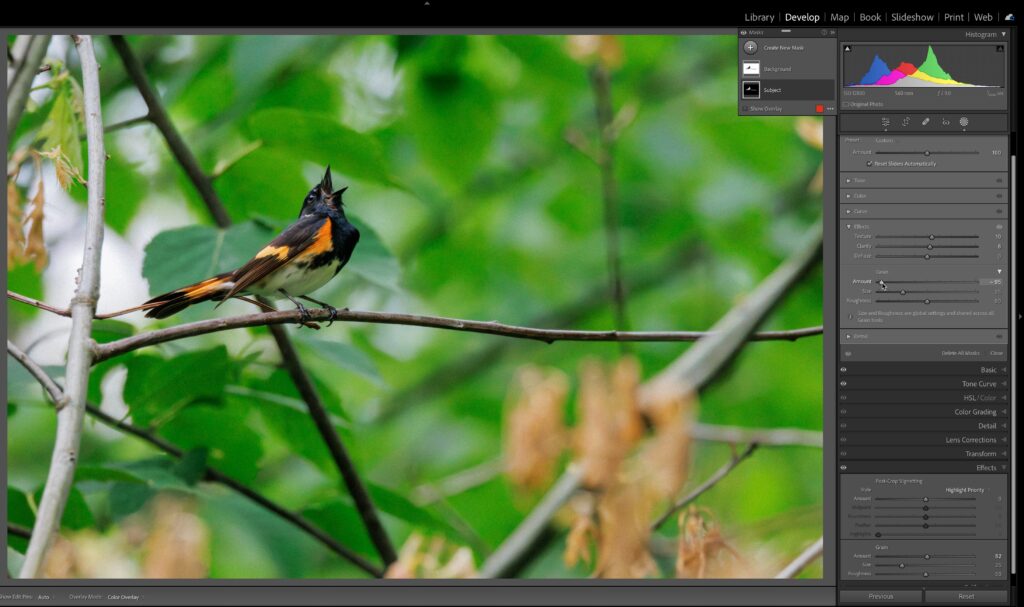
When you create a new mask, you’ll find there is now a Grain section in the Effects panel that looks just like the Grain options we’re already familiar with in the main Effects panel. By default, Amount is set to 0, and dragging it to the right will add grain to the masked area. If you’ve applied Grain globally (in the main Effects panel), then you can use this tool to reduce the appearance of the grain in the masked area (or increase it further). Changing the values on the Size and Roughness sliders in the Masking panel will change those same settings in the main/global Effects panel. This connection between Grain in Masking and globally in the Effects panel allows you to fine tune the final effect.
Refine Saturation – RGB Point Tone Curve (LrC and Lr desktop)
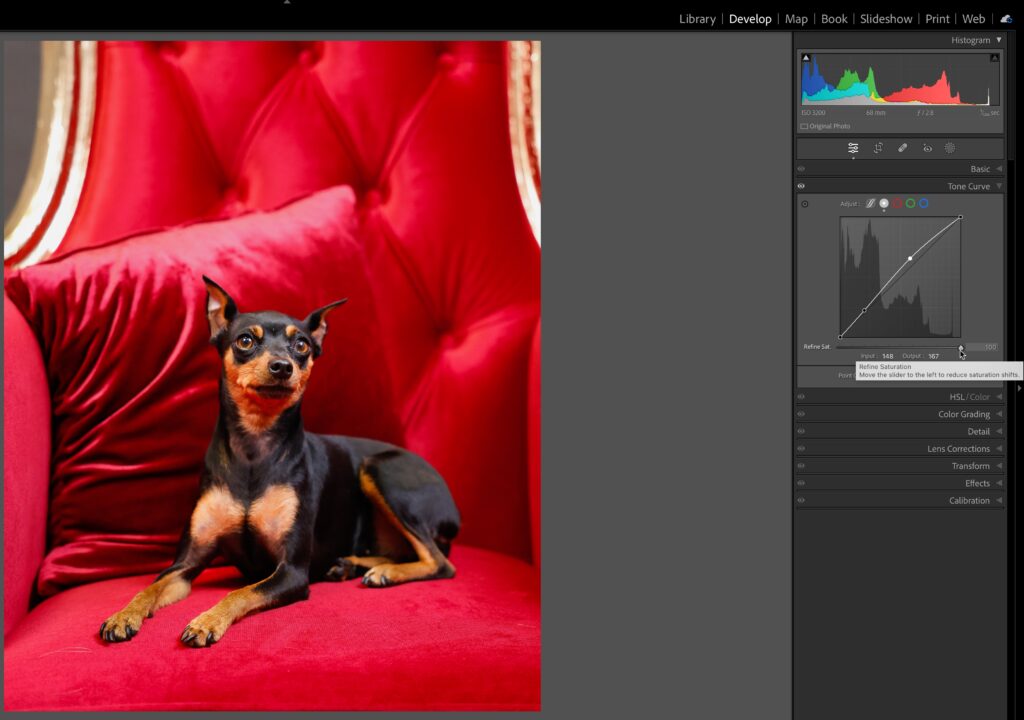
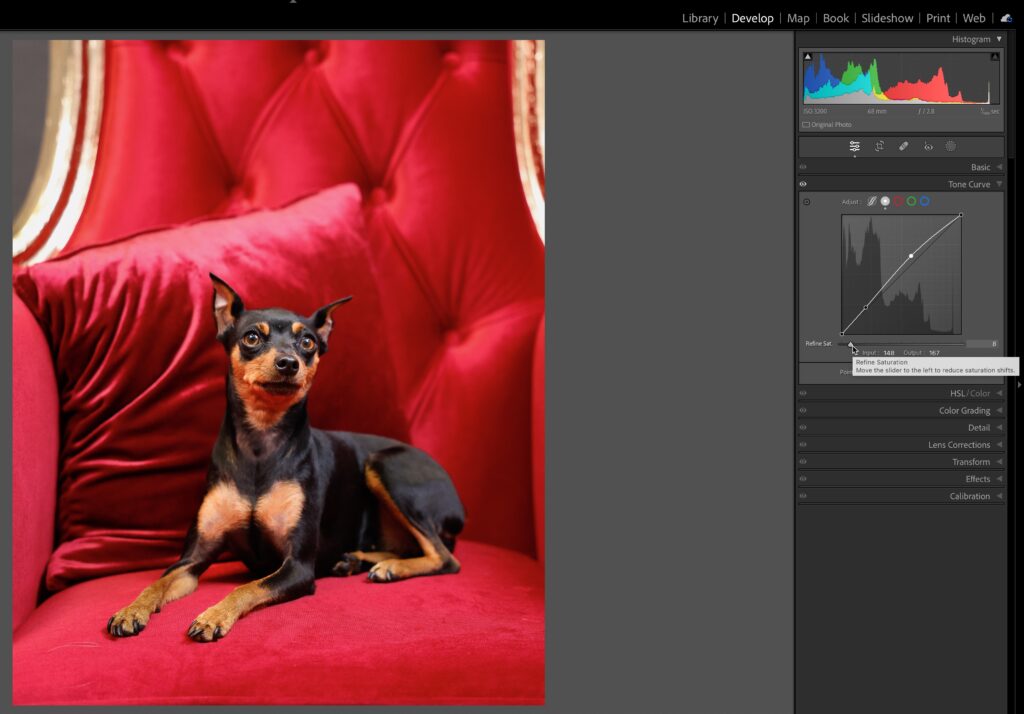
There’s a new addition to the RGB point curve in the Tone Curve panel called, Refine Saturation. As soon as you start creating a new point curve you’ll see this slider appear under the tone curve. It starts at 100, which is the same result as we’ve have previously. What’s new is that we can drag it to the left to reduce the amount of saturation that occurs when making an adjustment with a curve. So, let’s say we want to use a curve to brighten up an image, but the colors are already pretty saturated, we can now apply that subtle curve to boost brightness, then use the Refine Saturation slider to throttle the saturation boost that would have normally occurred. First photo below set to 100 (default) and second photo with Refine Saturation set to 8 (set to 0 to retain original color saturation).
Color Mix (LrC)
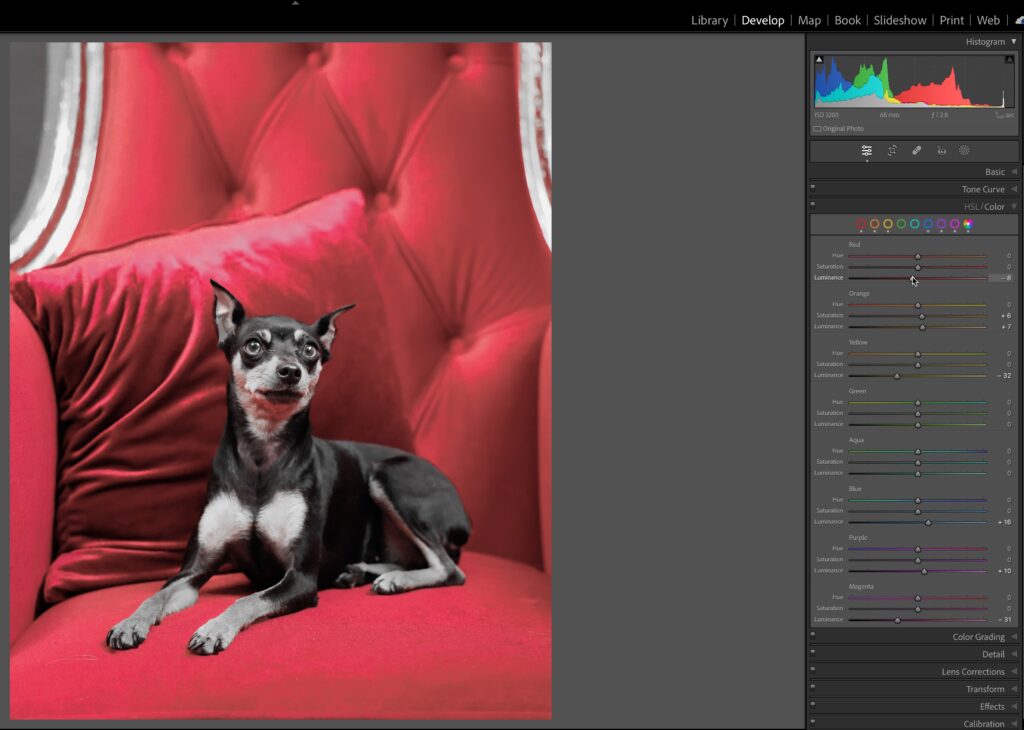
The Color section of the HSL/Color panel now has indicators that appear under each color that has been adjusted so we don’t have to drill down into each one just to see if there is an adjustment, which is small, but welcome.
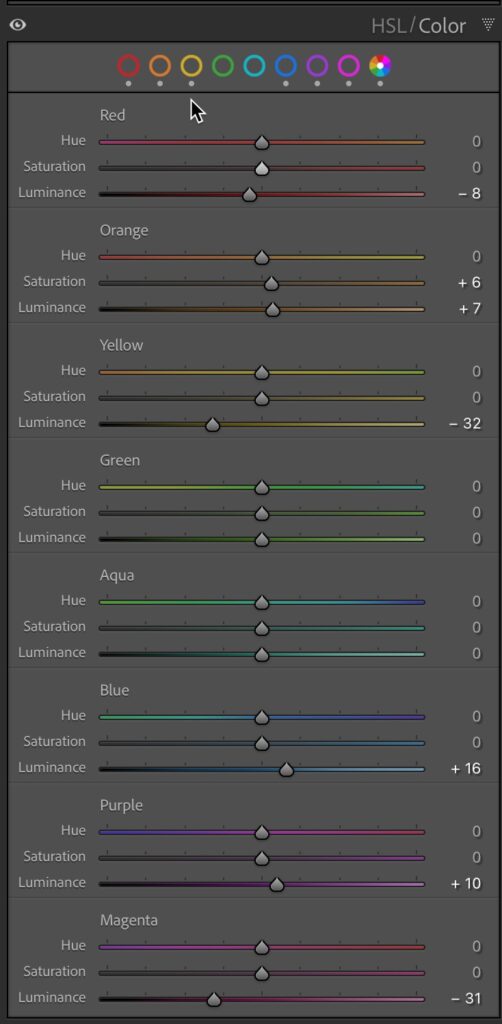
Additionally, there’s a new shortcut that’s pretty cool. If you hold down the Option key (PC: Alt) while making an adjustment with the Color Mix sliders or the HSL TAT (target adjustment tool) you will see the hue you are adjusting in color with the rest of the photo in grayscale to alternatively visualize your adjustment.
New Process Version
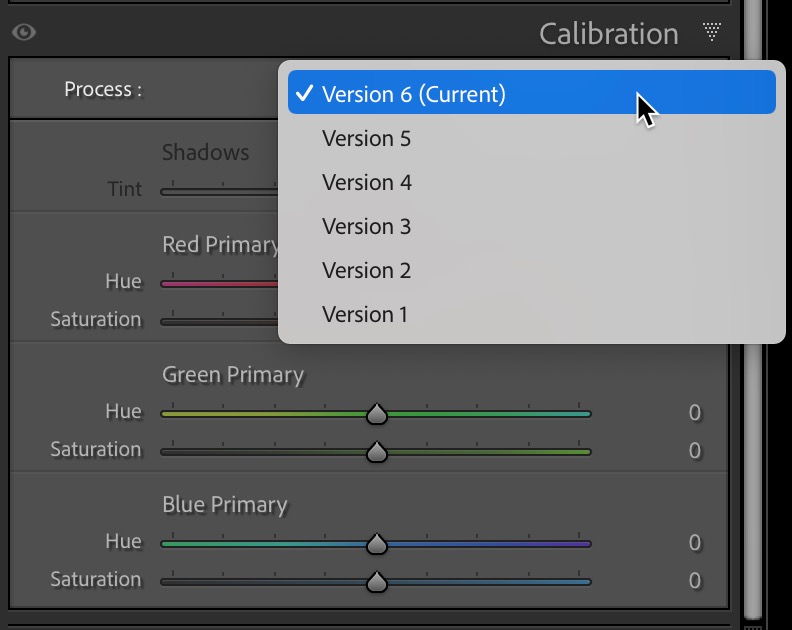
You may not notice this, but there is a new process version in town called Version 6, and it is a small change to the previous PV to do a better job in reducing banding in some photos.
Book Module Photo Cell Alignment
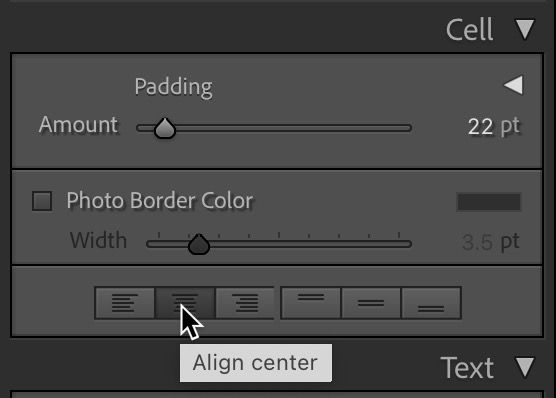
When making a book, we have new alignment buttons in the Cell panel (select a photo cell to enable this panel) for how the photo is aligned within the selected cell.
Edit Replay (Lr mobile only)
If you’ve ever wanted an easy way to share a short video of how you edited a photo in Lightroom, this new feature is for you. Currently this is only available in Lightroom on iOS and Android. First, go about your usual edit routine. When you’re satisfied that you’re done, tap the Share icon and you’ll see a new option called Create edit replay.
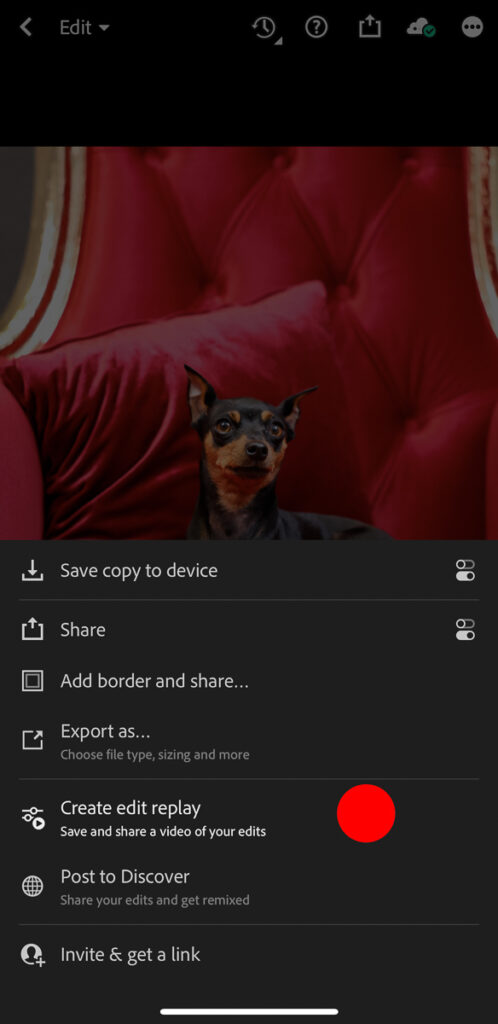
Tapping this will automatically create a short video that you can save to your device or share directly to social media. It shows a before and after view, then shows the stages after each major edit and ends with the final look of the photo. Give it a try and see what you think. If you share to social media and tag @Lightroom you may even get featured.
There was also a significant interface update to Lr for mobile that I think deserves a dedicated post, so stay tuned for that. Enjoy the update and let me know what you think of the new features.
The post June Update for Lightroom Classic, Lightroom, and Camera Raw appeared first on Lightroom Killer Tips.
By accepting you will be accessing a service provided by a third-party external to https://kendallcameraclub.org/