How to Merge Two Photos in Photoshop (5 Easy Steps)
Today, we will cover the easiest way to merge two photos in Photoshop. We will introduce quick selection techniques and other processes to produce a convincing blend between your images. After learning this technique you can let your imagination run wild.
Photoshop is essential software for creative photographers. However, learning how to make the most of digital editing software takes time. Attempting techniques like photo merging is a great way to start your journey.

How Do You Merge Two Photos in Photoshop?
There are several ways to perform the same task in Photoshop, and this is most noticeable when merging photos. The method we will show you involves using the Quick Select Tool and Masking techniques.
You can also drop the image straight into your final photo and use Layer Masks to erase the sections you do not want. This is ideal if you want to change very specific features as it gives you more control. It takes much more care and attention to detail, which is a much longer process.
We will cover both techniques so you can understand how Photoshop works. Each technique has its strengths and you can use the different techniques depending on the edit you want to make.
 © Daria Nepriakhina
Merge Two Photos In Photoshop Using The Quick Select
The Quick Select method is best for removing a subject from an image. This means it is best for moving people, faces, or animals into another image.
You can create a selection of your subject quickly with a fair amount of accuracy.
Step 1 – Select the Images You Want to Blend
The trickiest part about performing a successful photo merge in Photoshop is picking images that will go together. You can force images together, but some elements won’t work. This depends on the focal length, the lighting, and even the quality of each image.
Ideally, you want to pick two clear images. If you are performing a face swap, or want to edit someones eyes as they were blinking in one of the photos, you will have to ensure the models are facing in the same direction.
Thankfully, Photoshop allows us to perform tonal, color, and other corrections. So, even if the color temperature doesn’t match, we can fix this in Photoshop. We will show you how to do this later.
For this edit, we will put our friend stuck in an airport in a holiday location.

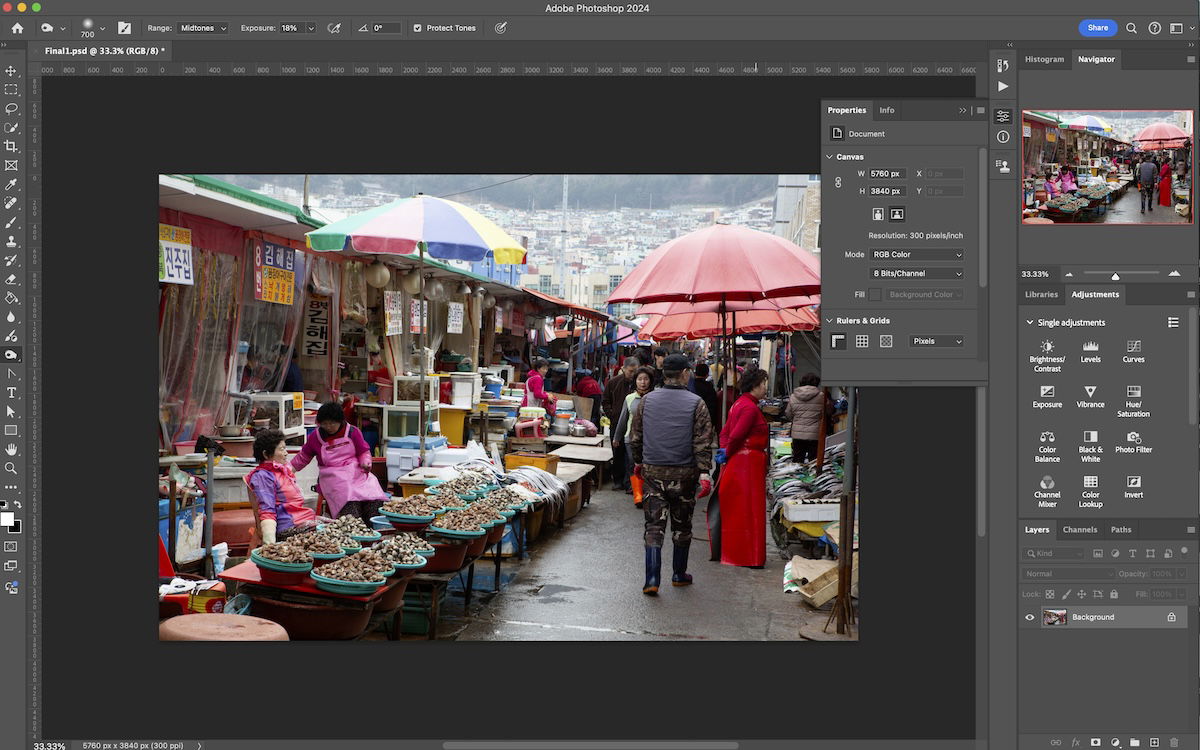
Step 2 – Open Up Your Images In Photoshop
Once you have selected your images you can open them in Photoshop.
For this technique, make sure the images are not in the same edit, as we will drop the cut out image into our background later on in this process.
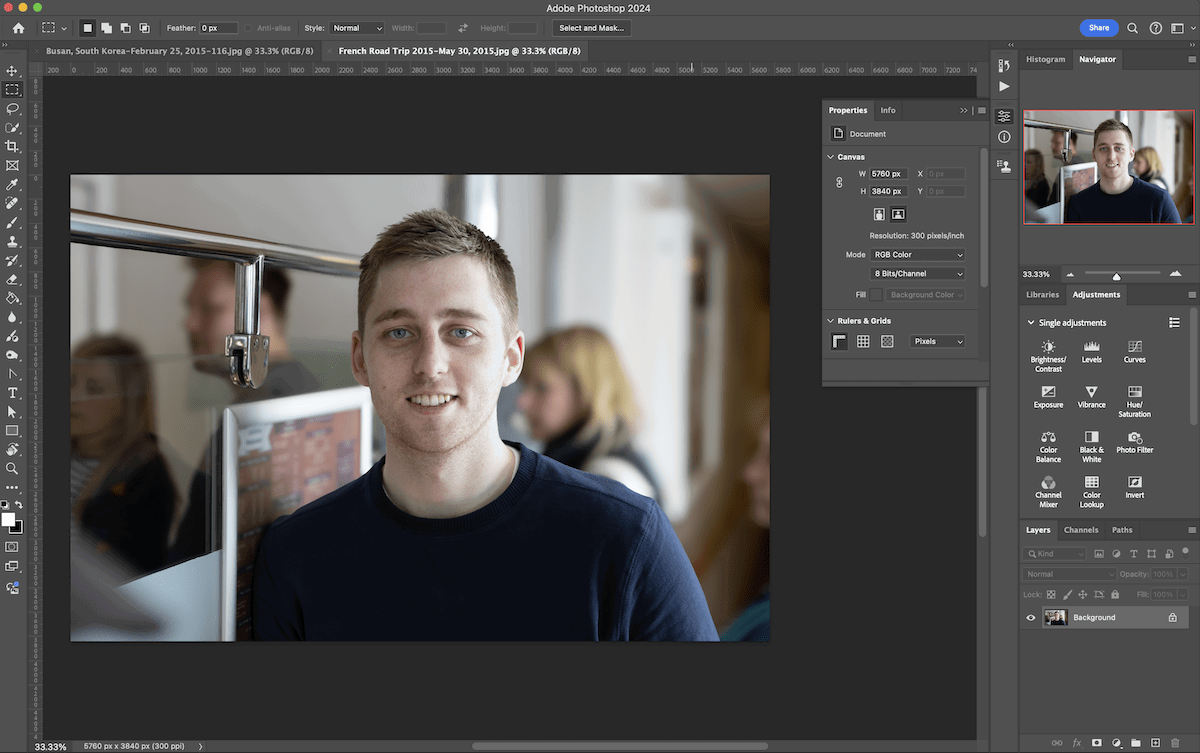 Both images open in different Photoshop tabs
Step 3 – Cut Out Your Subject
Now, we want to remove our subject from its current background.
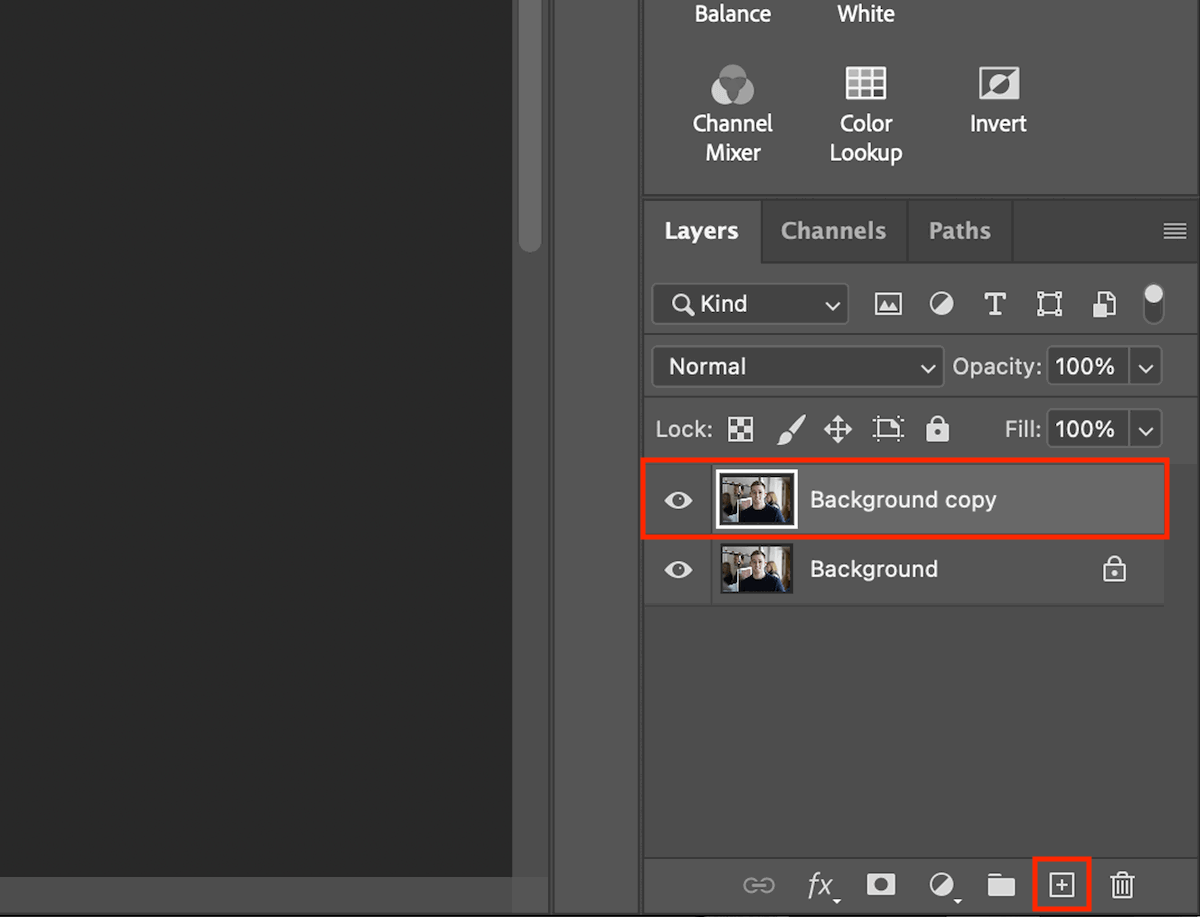
First, duplicate the background. You can do this by dragging your background layer over the New Layer icon at the bottom (‘+’ inside a box).
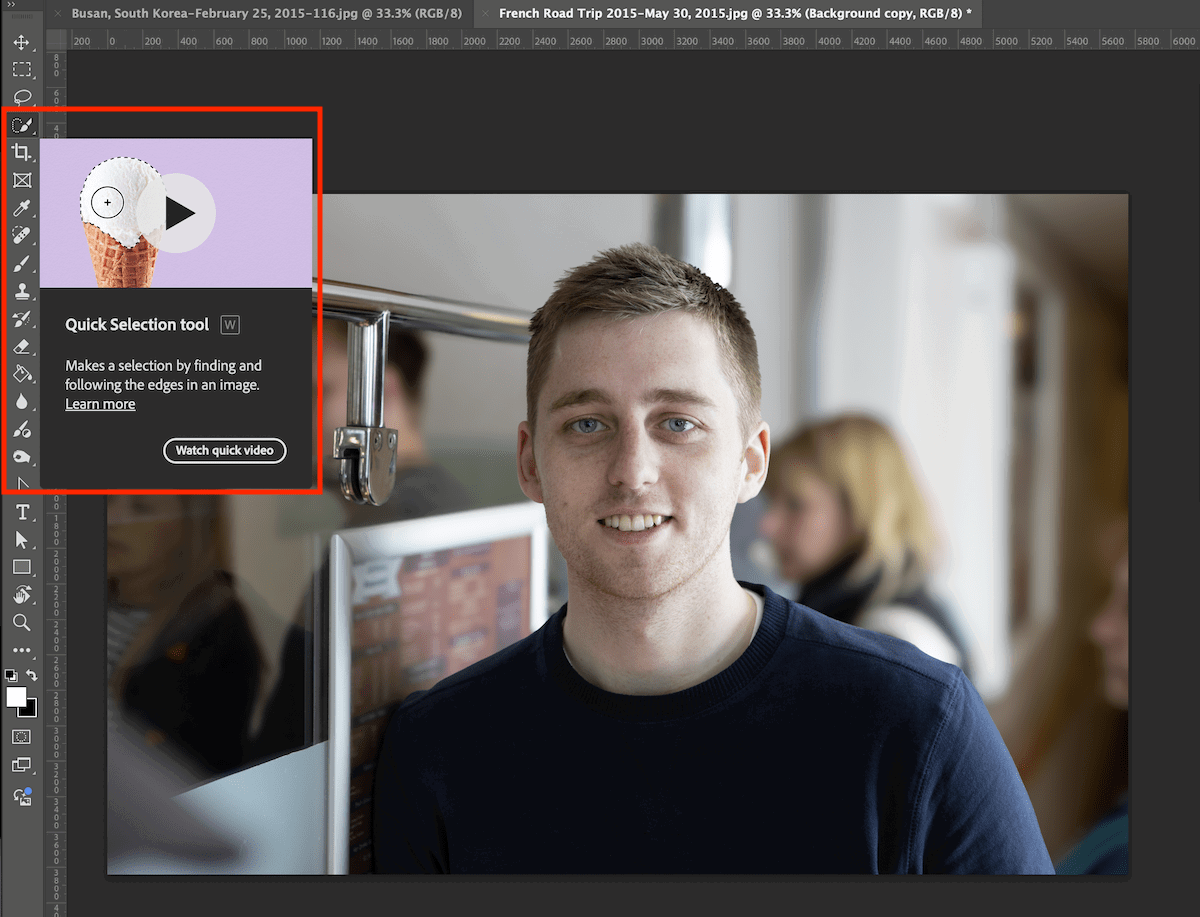
Now, find the Quick Selection Tool.
With the Quick Selection Tool selected, you can start to brush inside your subject. You will see a dotted line start to form. You want this dotted line to go around your subject as accurately as possible.
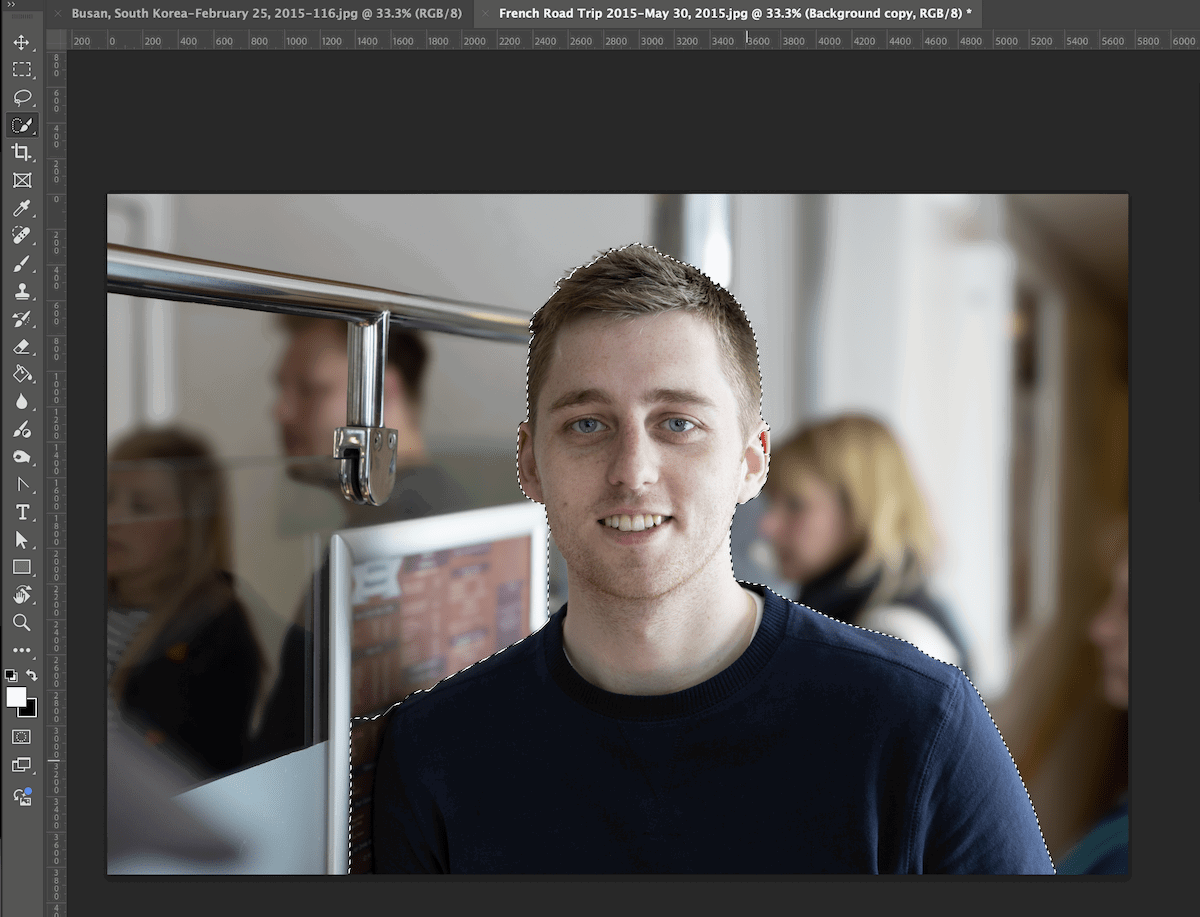
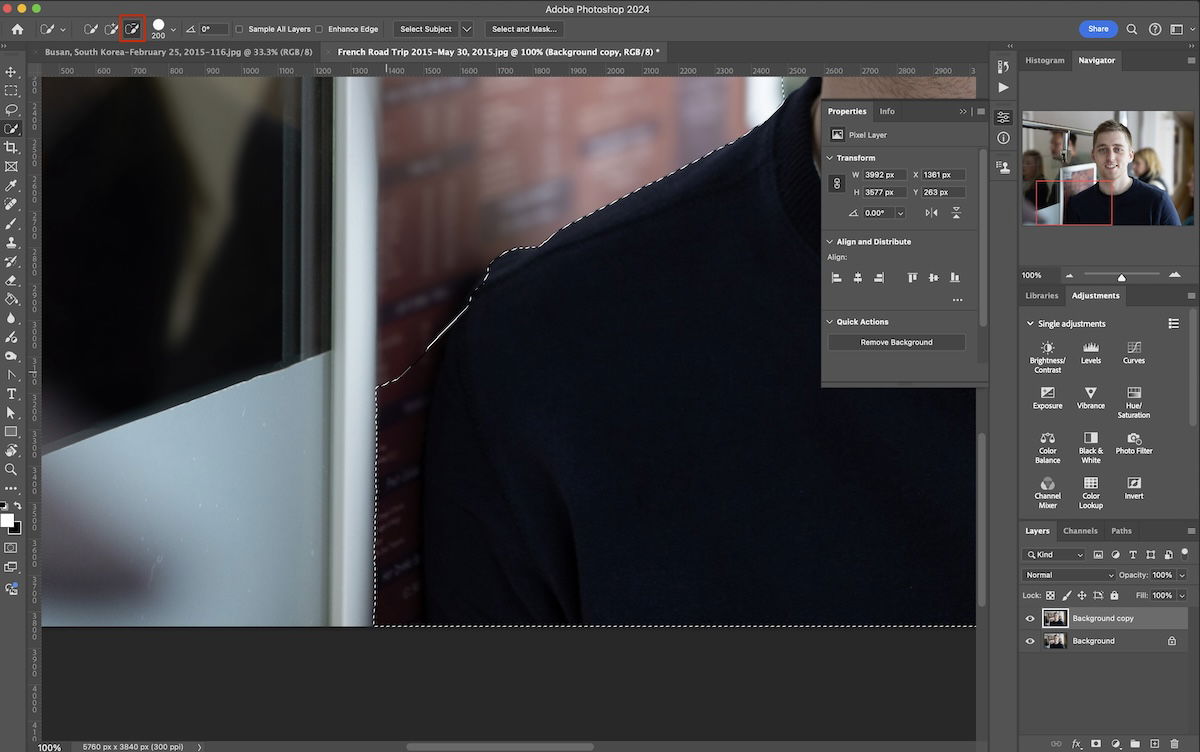
You can always choose the Subtract From Selection brush in the top left if your line goes outside your subject. This allows you to brush out the areas that you do not want. You can switch between these brushes at any time.
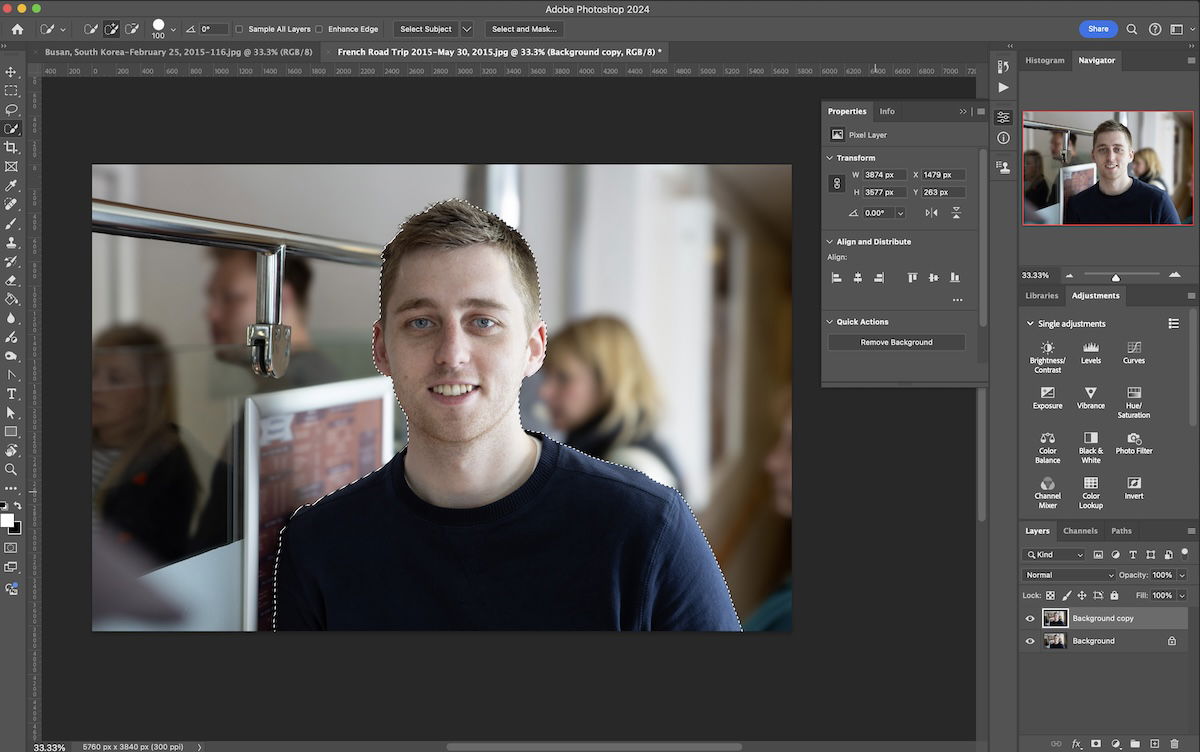
Once you have your selection we will inverse it. You can do this by pressing Cmd + Shift + I (Ctrl + Shift + I on Windows). You will know this is done when the dotted line will not only be around your subject, but also the frame of your whole image.
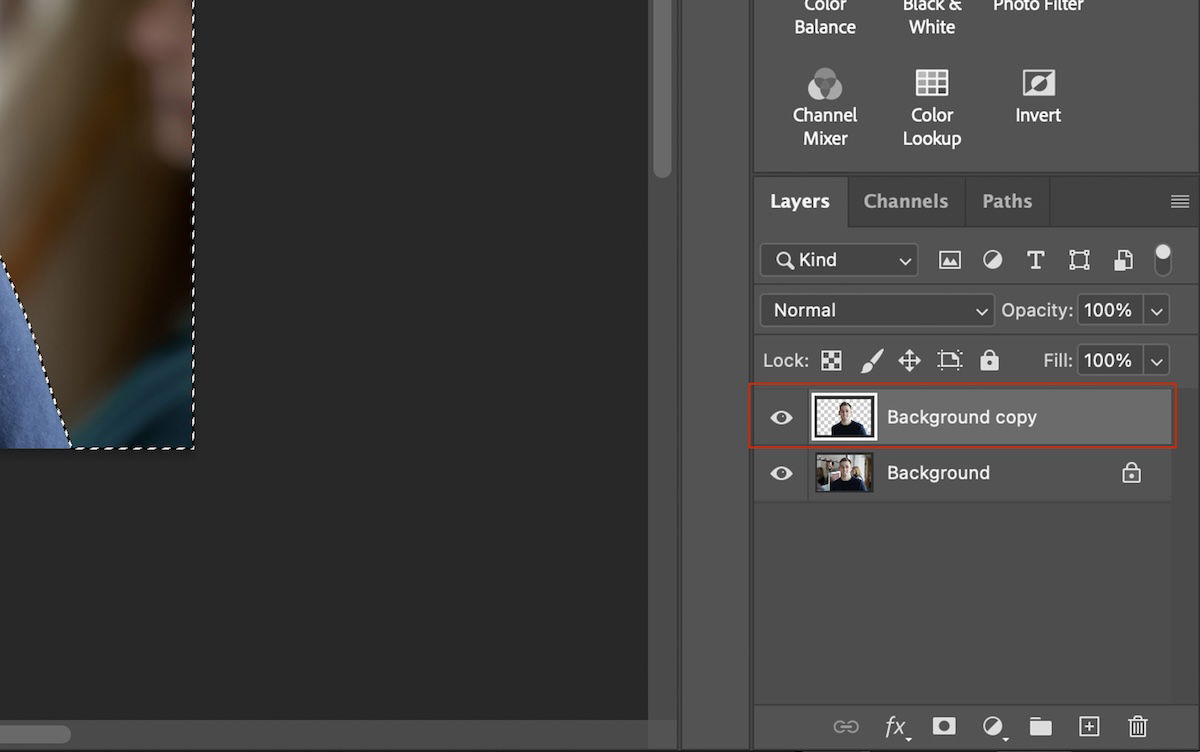
Now press backspace to delete the background. You will see in the Layers panel that the top layer doesn’t have a background.

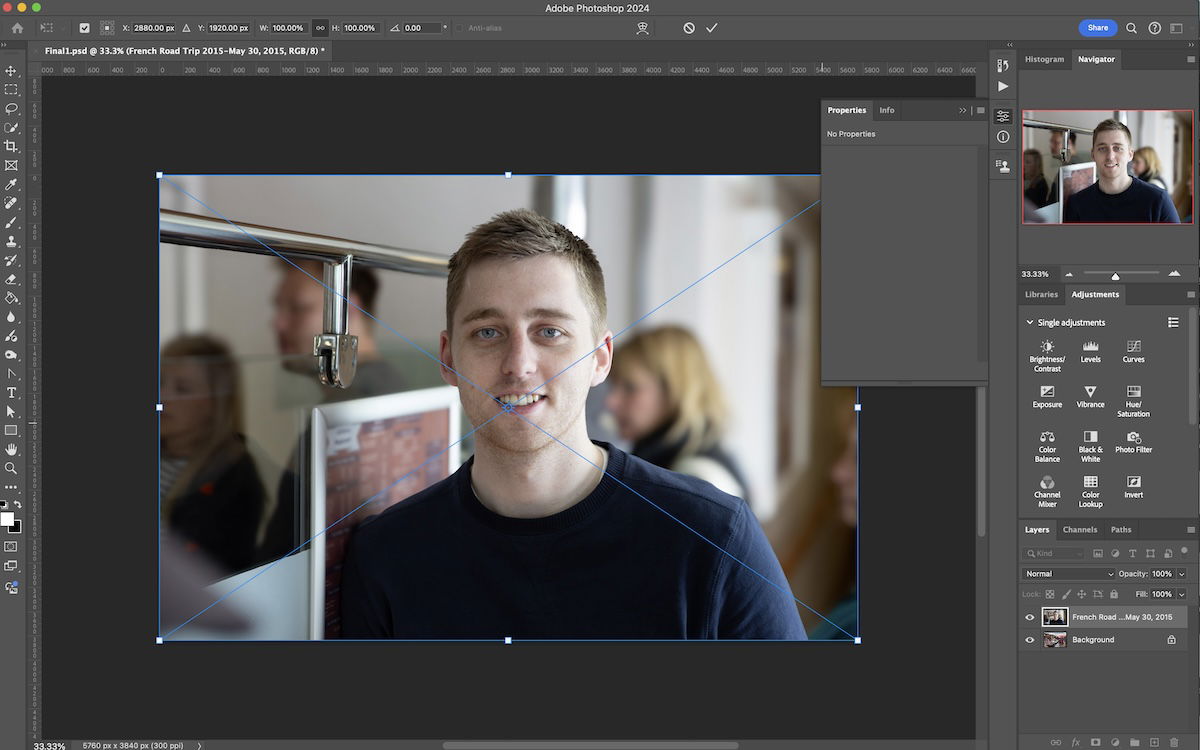
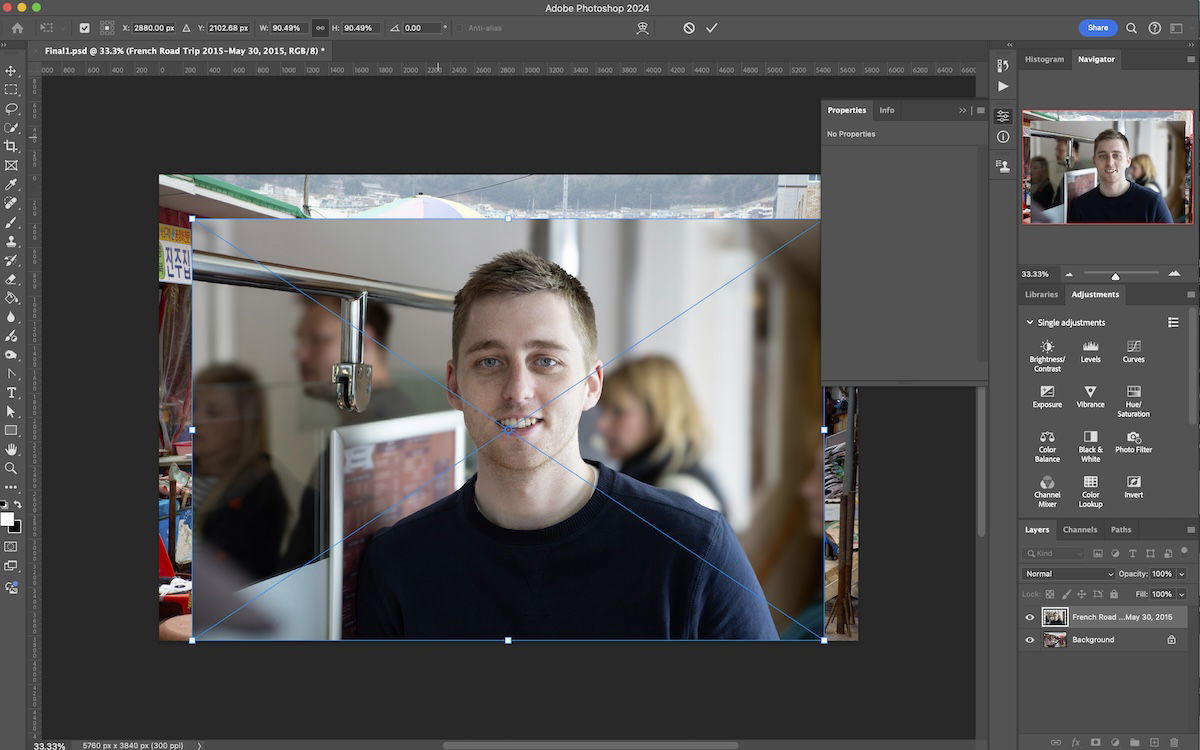
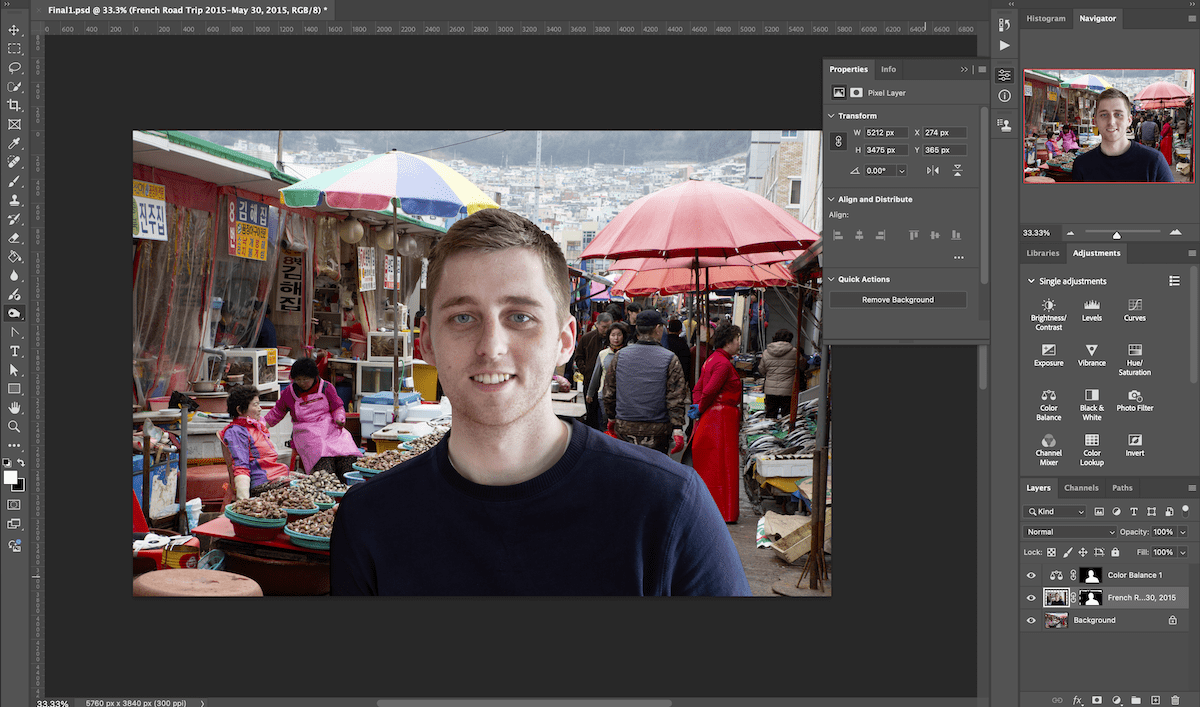
Step 4 – Place Your Selection Into Your New Photo
Now we want to drag our subject layer into next photo. If both images are in tabs then hold the layer above the new tab to change the current image show in Photoshop.
You can also drag the image out of Photoshop to make it easier to drop in your selected layer.
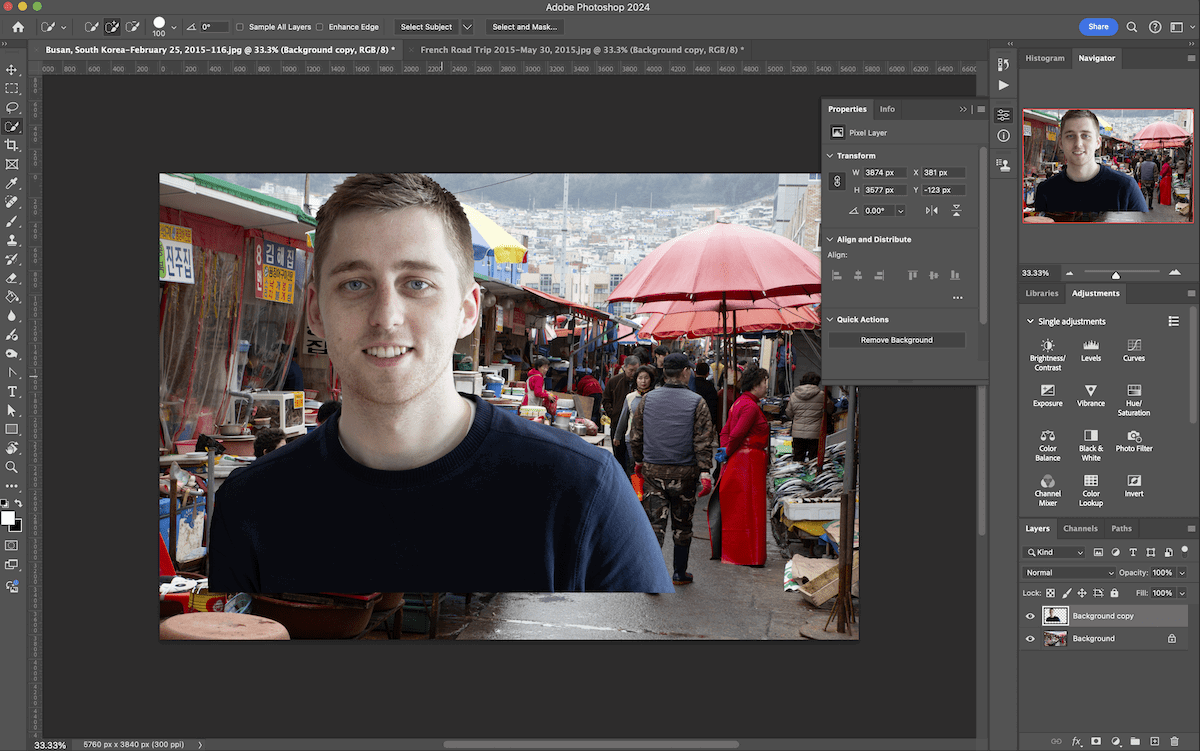
Once your layer is in the new photo, you can make initial size adjustments using Cmd + T (Ctrl + T for Windows).

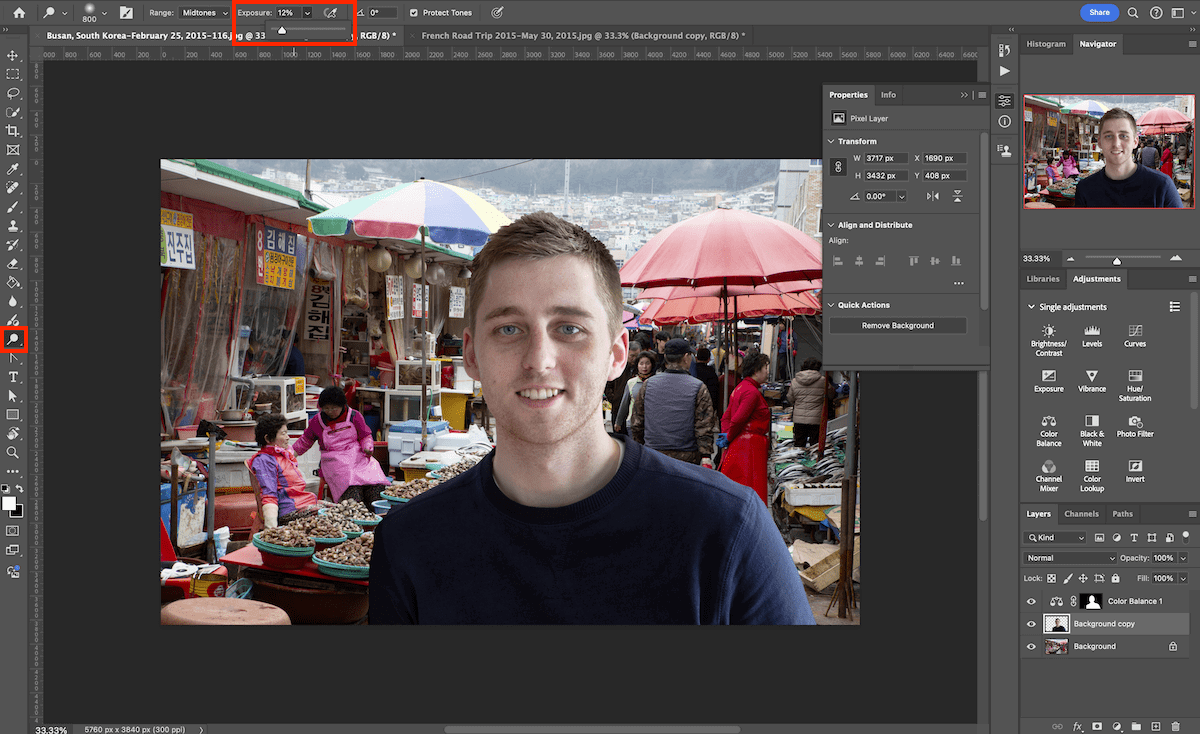
Step 5 – Performing Convincing Edits
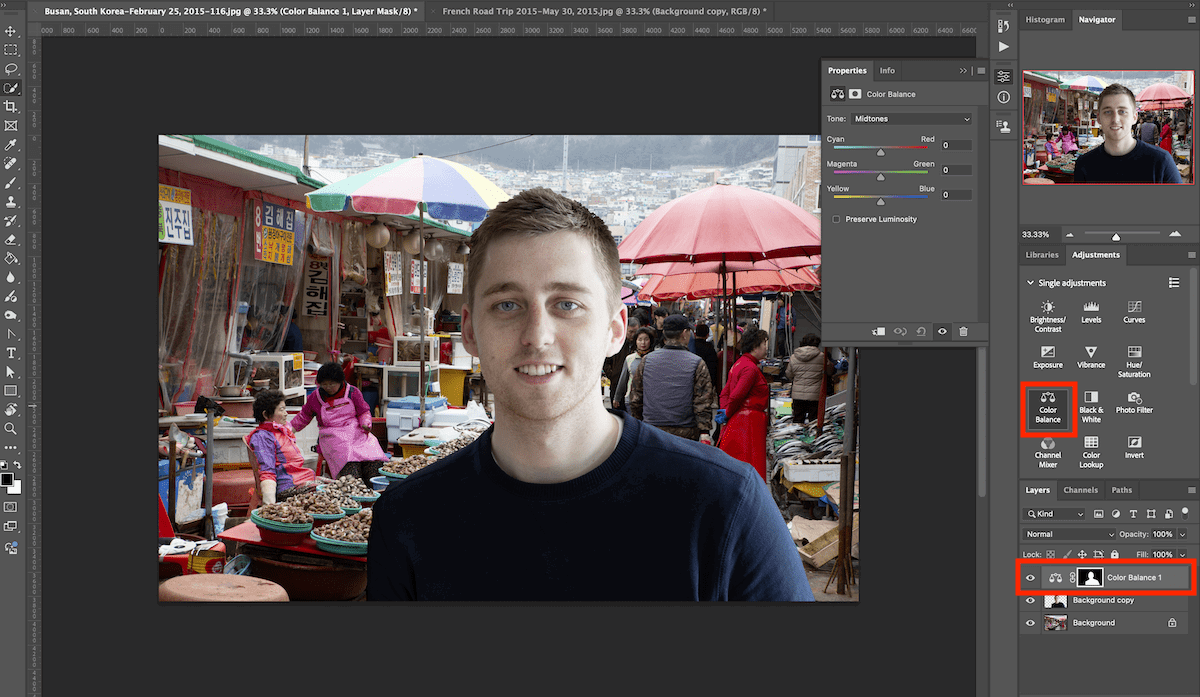
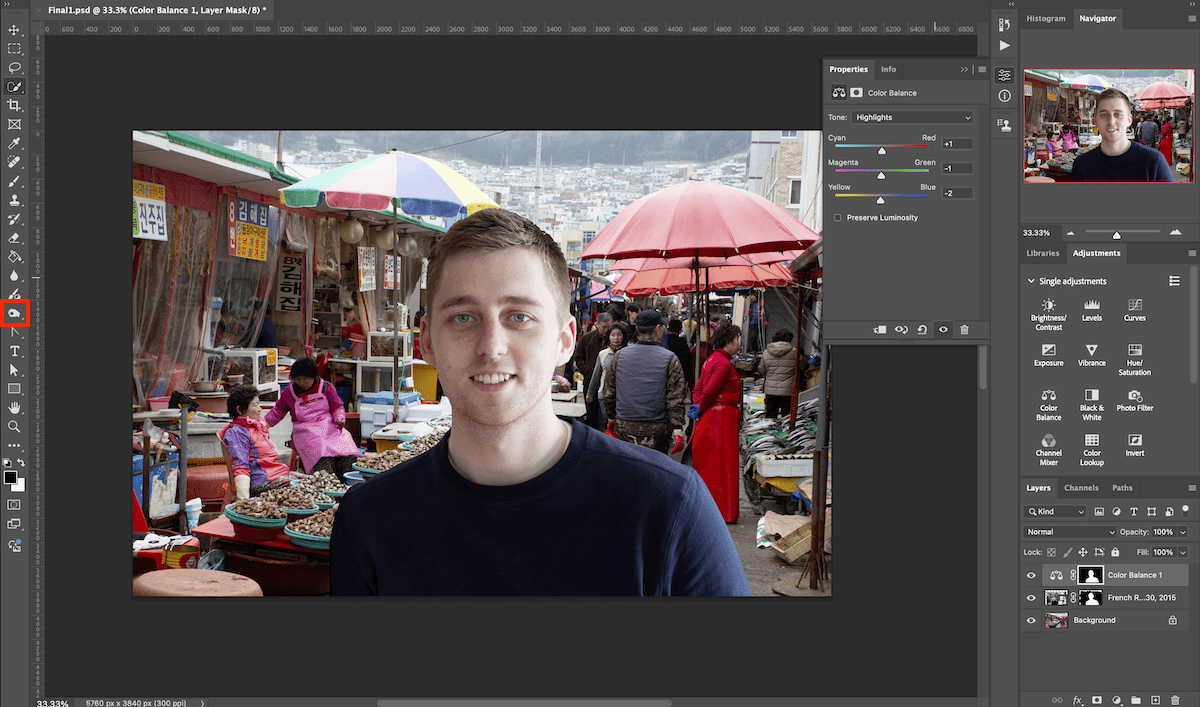
Now we want to perform some adjustments to our subject so that it matches our new image better. The most common inconsistency is the color temperature. We want to create a layer mask to ensure only our new layer is edited, not the entire photo.
First, select your new layer with the transparent background. Then, grab the Quick Selection Tool. You can quickly brush inside to select the entire layer, as the selection is limited to that layer. From here, you can choose any adjustment, and it will apply a layer mask to the edit.
I suggest using the color temperature adjustment to match the colors. You can also perform tonal adjustments if you want.


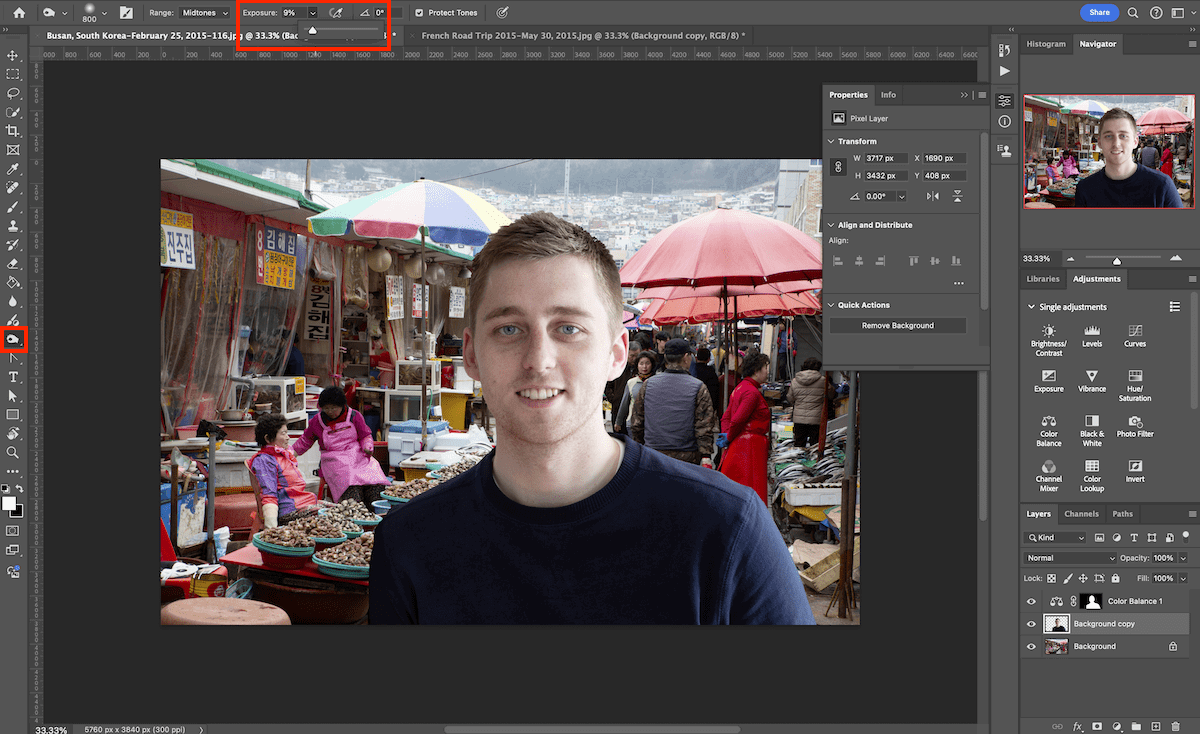
If you want to perform tonal adjustments using the brush, I would recommend using the Dodge and Burn tools. These are great for adjusting shadows that may make the image unconvincing.
Make sure you set the Exposure low so the adjustment is subtle. You can keep brushing in the exposure until it looks convincing.

Merge Two Photos in Photoshop Using A Layer Mask
We will now tell you how to merge two photos in Photoshop using a Layer Mask.
This method is best for picking out smaller elements from a subject. It is also a good alternative if the Quick Selection Tool produces inaccurate results.
Step 1 – Open Your Images In Photoshop
Once you have selected your images you will want to open them in Photoshop.
The Layer Mask technique differs as you will drop your subject photo into your background photo directly. You can do this by dragging the photo from a folder onto the background image open in Photoshop.
Upon dropping your image, you can make preliminary size adjustments.
Step 2 – Create A Layer Mask
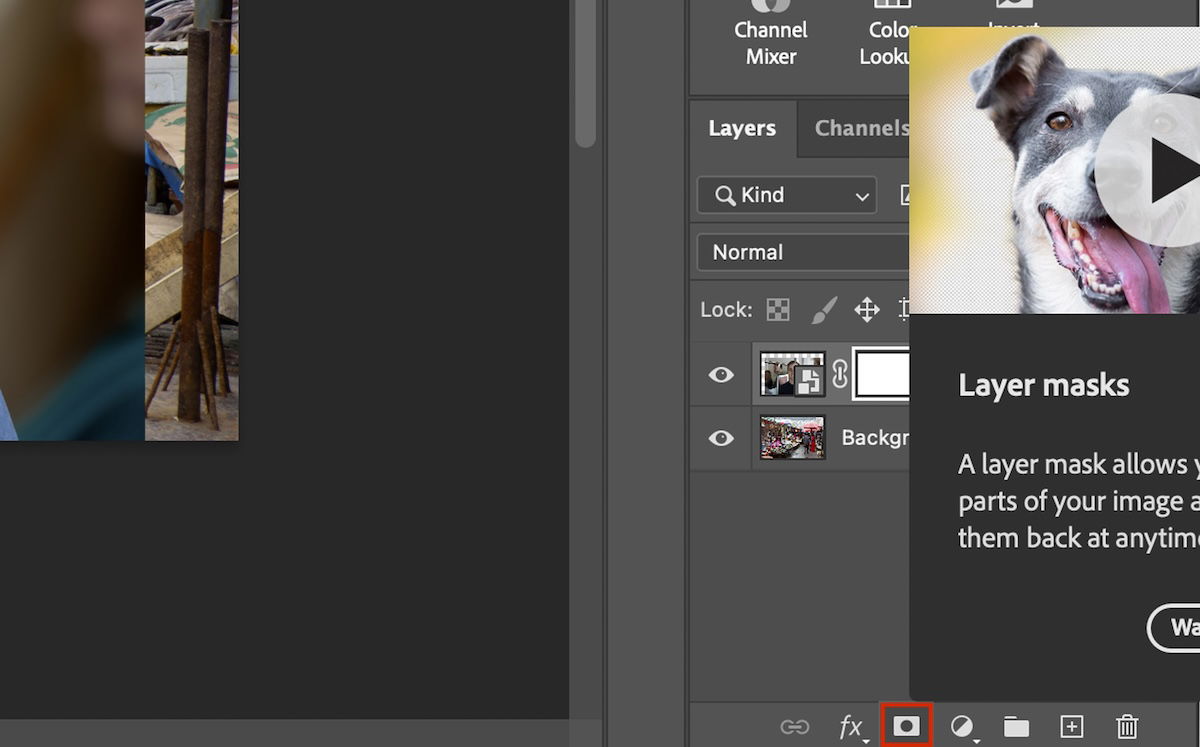
Select the image you want to edit in the layer panel. To create a layer mask click the rectangle with a circle inside at the bottom of the layer panel.
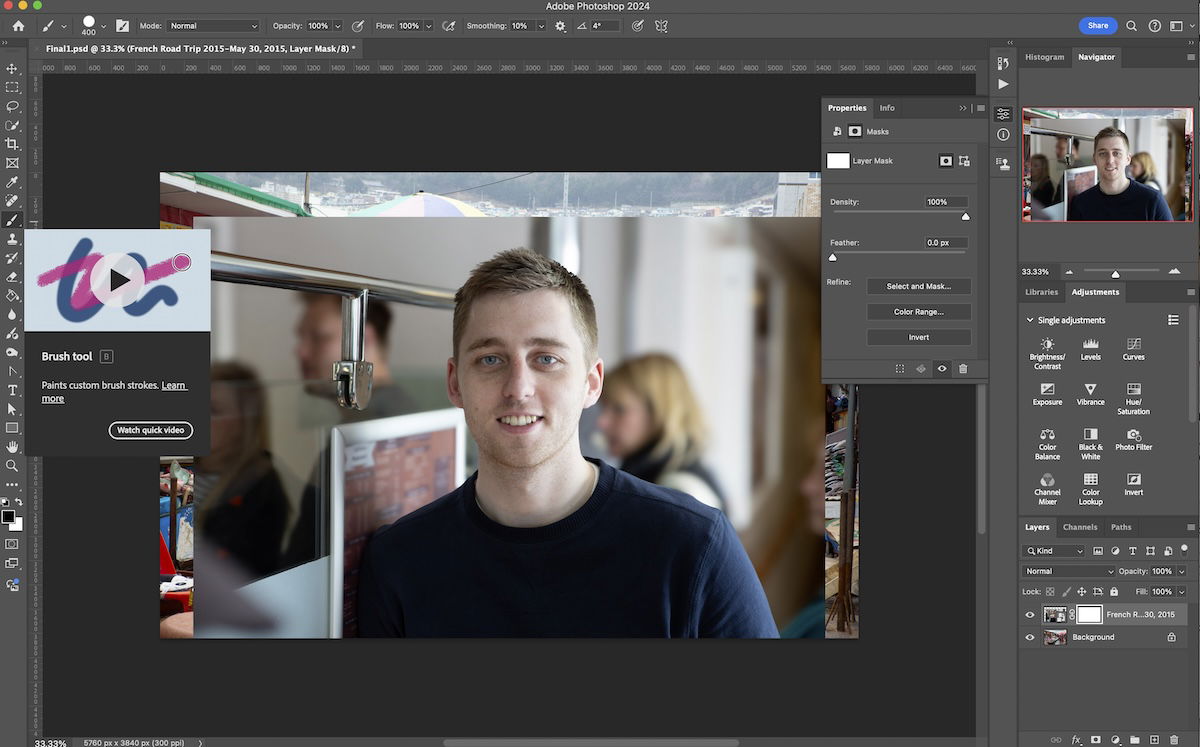
Now, grab the Brush tool. Make sure you are painting in black. You can check by looking at the bottom of your toolbar to the left. Click the arrows in a right angle to swap between white and black.
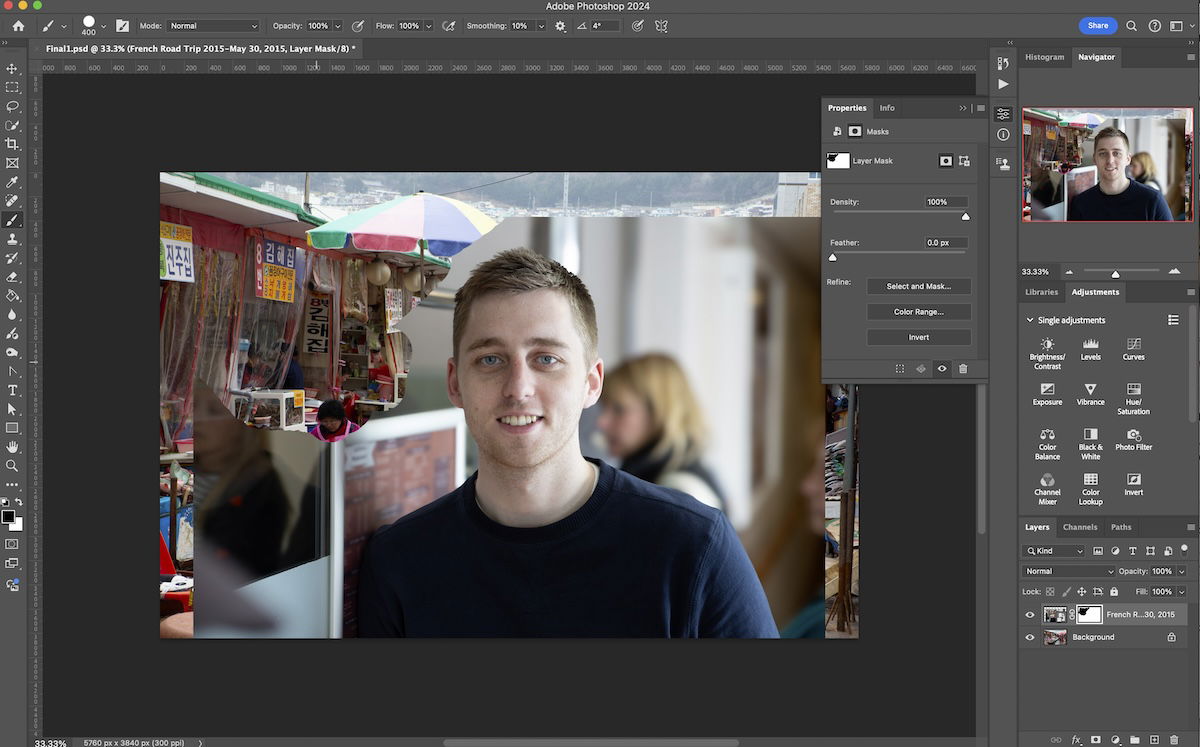
With the white blank Layer Mask selected, you can use the brush to remove all the unwanted elements.
Remember, you can zoom in as close as you like and use a tiny brush to get the most accurate results.
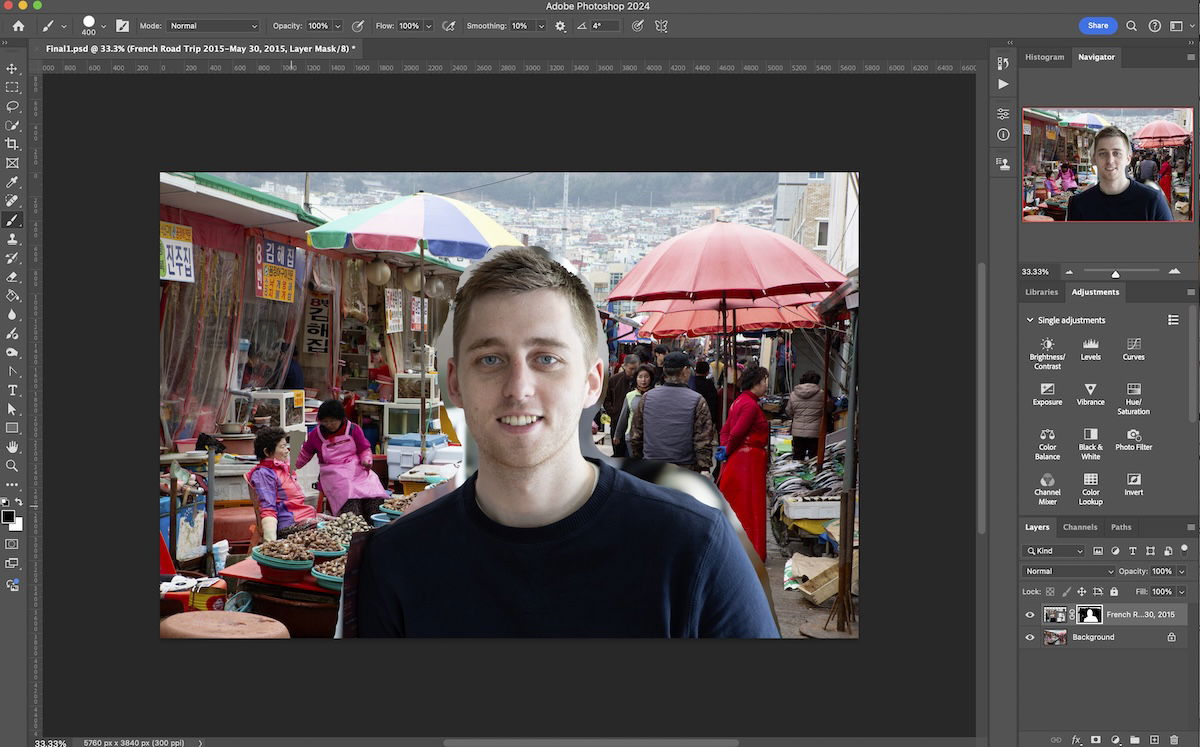
Step 3 – Performing Convincing Edits
Now, you can follow the same process as Step 5 above to fine-tune your edit. Although, the Quick Selection Tool will not automatically snap to your selection.

Conclusion: Merge Two Photos in Photoshop
Merging two photos in Photoshop is easy and should be something you become familiar with. There are more techniques to merge two photos in Photoshop but these are the most common and easiest.
Once you have become familiar with this technique, you can merge more photos together. Eventually, you will be able to perform convincing Photoshop composites with ease.
About the author

By accepting you will be accessing a service provided by a third-party external to https://kendallcameraclub.org/