How to Edit Exposure in Lightroom (Under or Overexposed)
Today, we will guide you through how to get the correct exposure in Lightroom. Exposure is key in photography. Underexposed and overexposed photographs are important for stylistic reasons. But, working out how to have an even exposure across your image is incredibly important for beginners.
We will outline some ways you can spot a well-exposed image. This will include learning how to read your histogram in Lightroom. We will continue to cover the main basic exposure adjustments in this digital editing software. By the end, you will confidently be able to achieve a correct exposure in Lightroom.

What is Exposure in Photography?
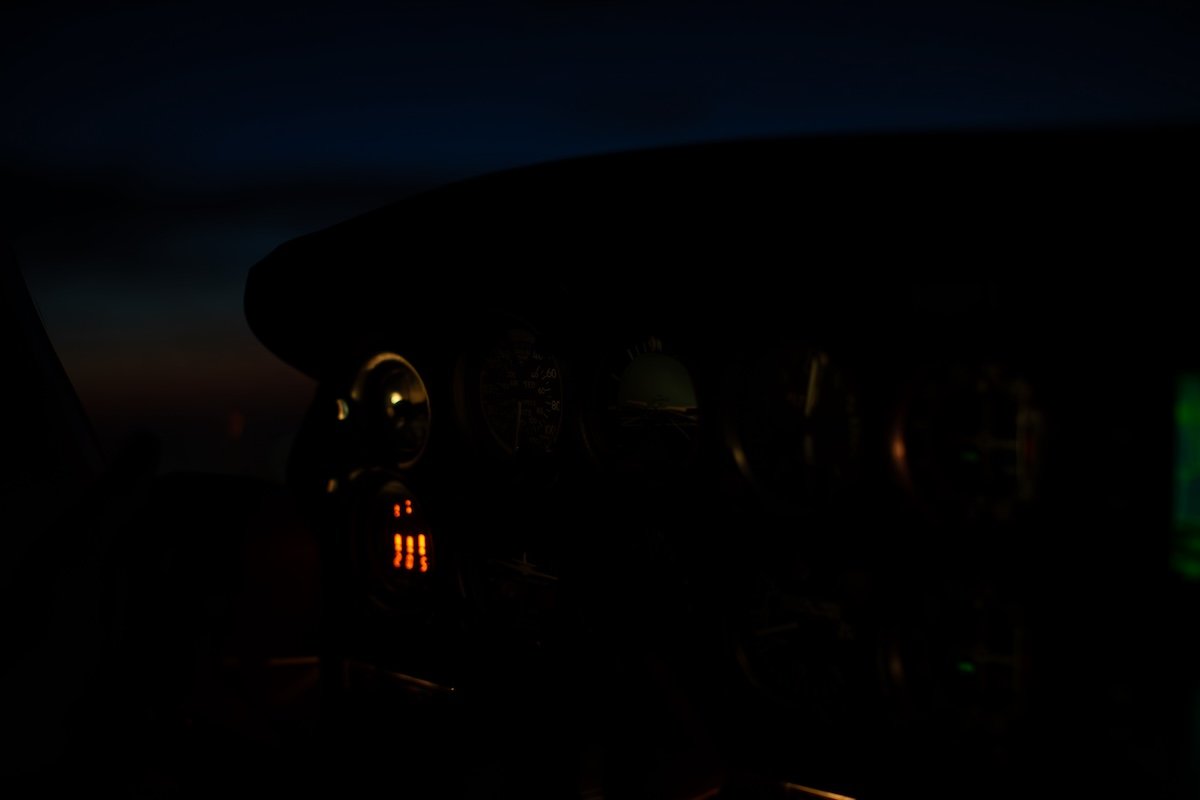
Achieving the correct exposure in photography is crucial. The exposure is dictated by the settings you put into the camera. The ISO, shutter speed, and aperture decide this.
A correct exposure is when you can clearly see the main part of the image. A perfectly exposed image would not have true blacks or true whites. A well-exposed image would replicate how our eyes see the scene we photograph.
Cameras in auto mode will automatically change the settings to achieve a correct exposure. Getting the correct exposure in manual mode will take practice. But, if you want to take photography seriously, you must learn this method.
Read our article on the exposure triangle to better understand how to achieve good exposure in the camera.
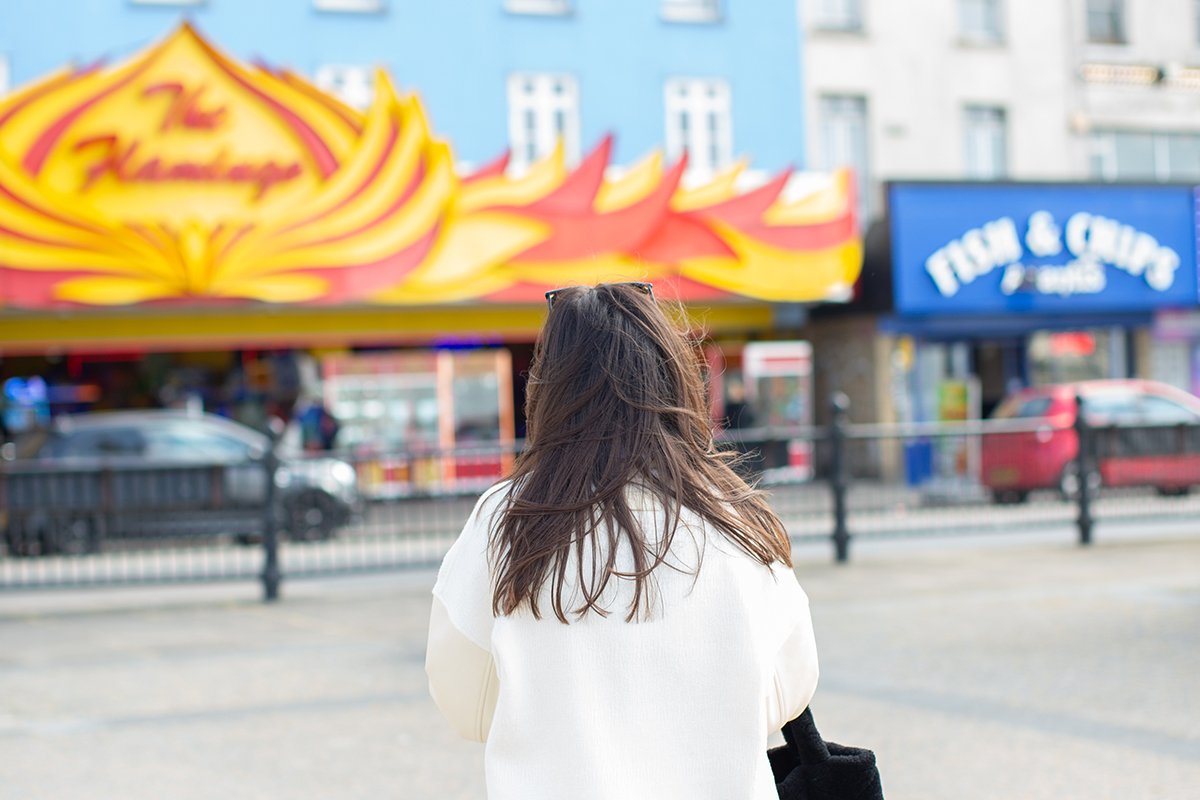
 © Pok Rie
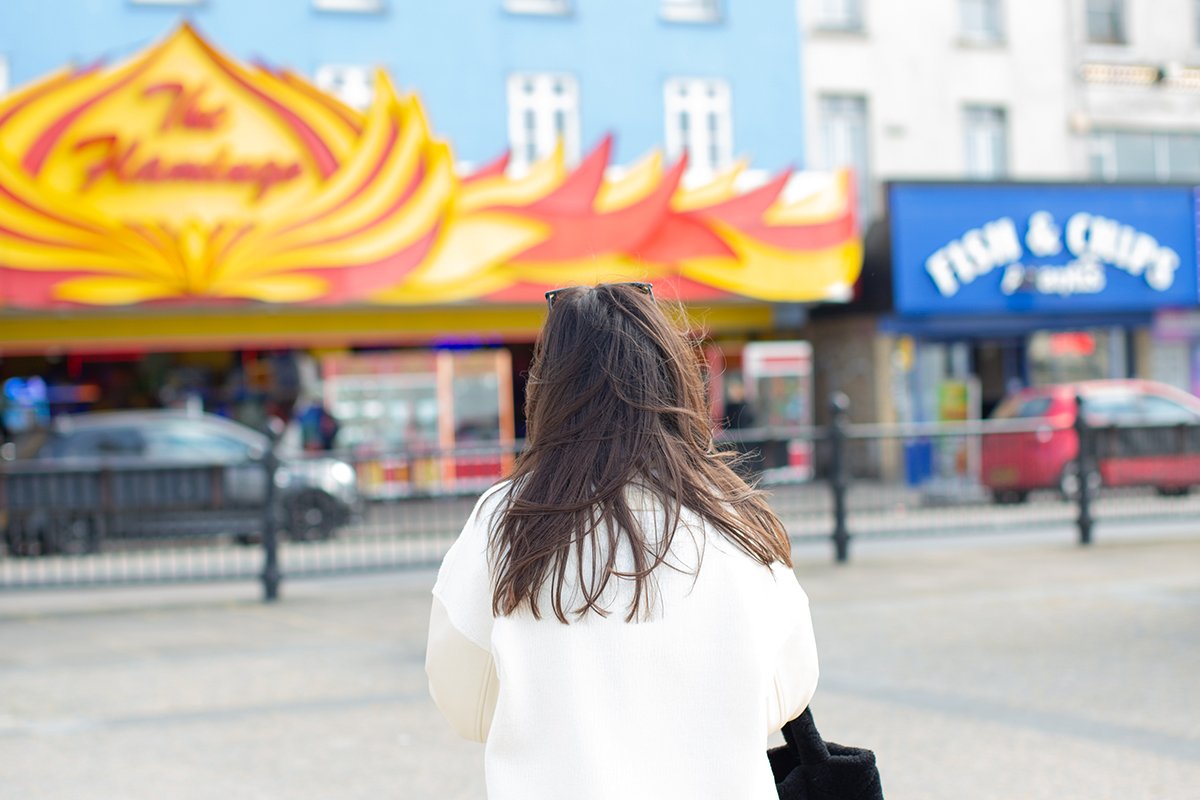
Editing For A Correct Exposure in Lightroom vs Lightroom Classic
Adobe Lightroom now comes in two different versions: Lightroom and Lightroom Classic. Both versions have many of the same functions; what differs are the approaches to editing processes.
Lightroom favors a post-processing workflow that utilizes the cloud. This allows you to work from the same set of images on any device you want. This version also prioritizes simplicity and ease of use through a stripped-back interface. This may be easier for beginners to work through.
Lightroom Classic has an interface with which any photographer who has used the past versions of Lightroom would be familiar. It provides a wide range of features, some of which you may never need to use. You will find more in-depth controls and attention to detail in Lightroom Classic.
Both Lightroom versions produce the same results as the algorithms for adjustments are the same. So, it will come down to personal preference or whether you need to use a very specific process. This article will outline differences in the processes we touch on in either Lightroom version.
How To Assess Exposure in Lightroom
We can use digital editing software, like Adobe Lightroom, to assess the exposure of our photographs. Of course, we can use our eyes to determine whether a photograph is too light or dark. However, it helps our understanding of photography if we can see how a program reads our exposure.
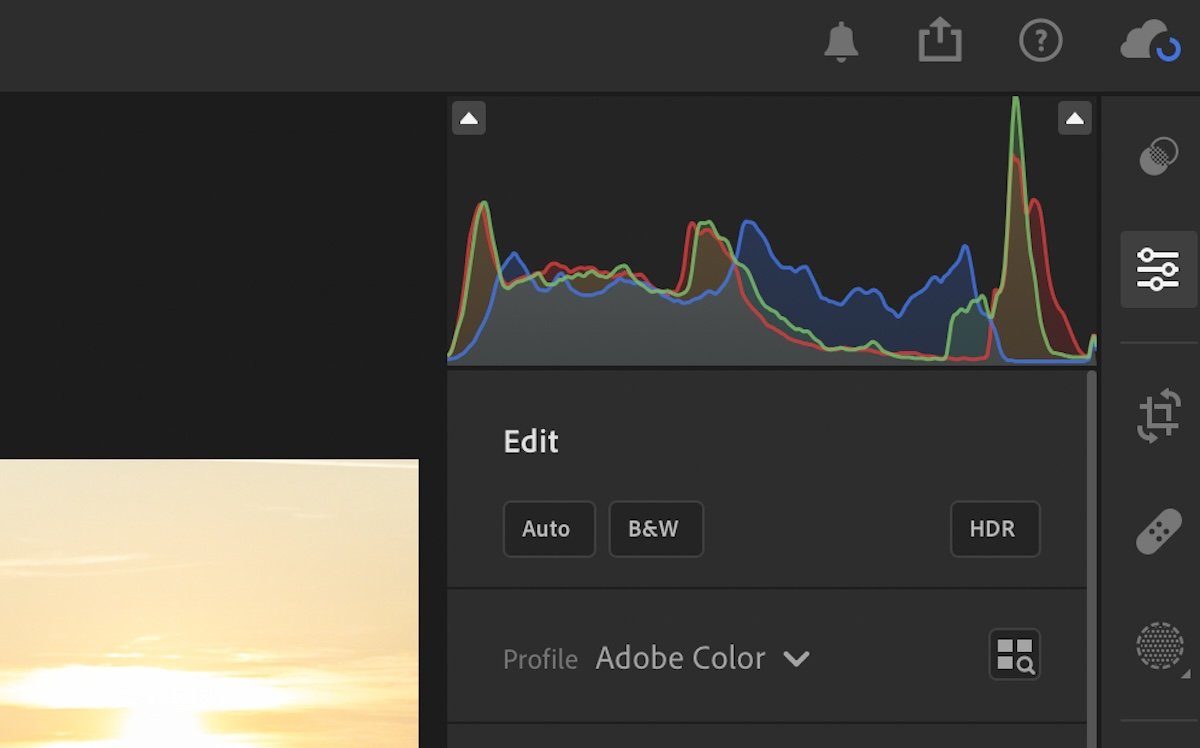
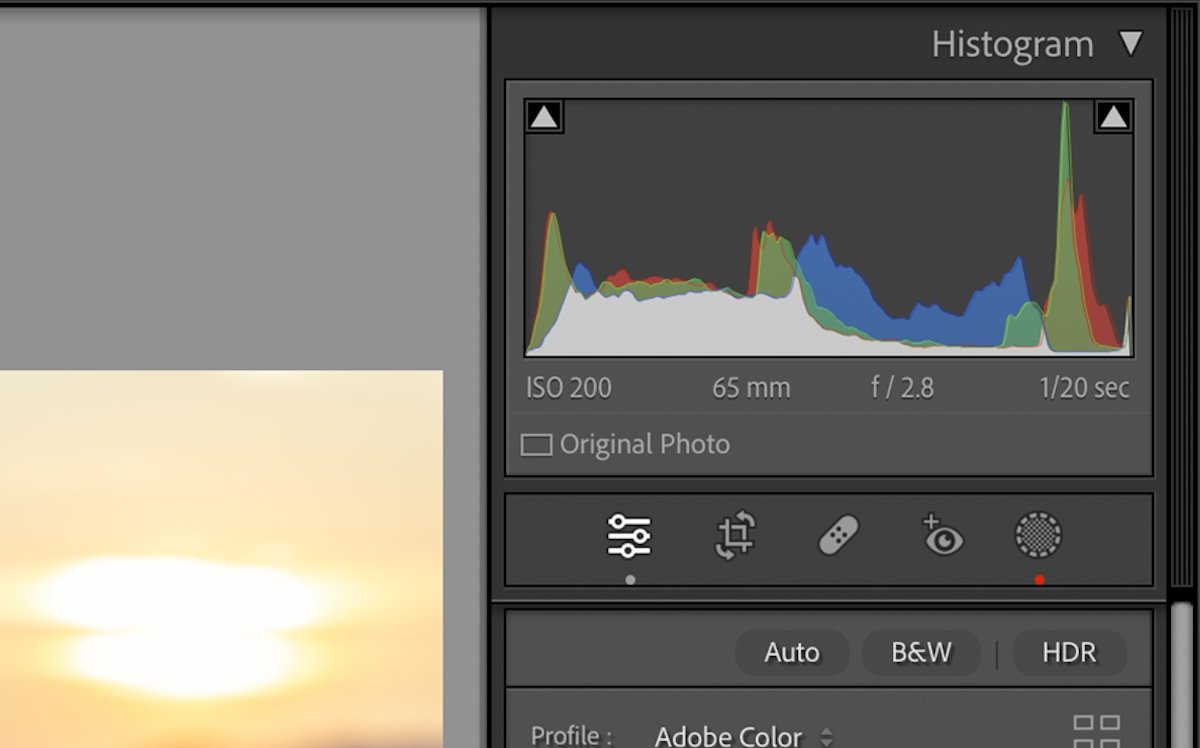
The histogram is a visual representation of the exposure data. It shows how many values in the photographs are considered to be shadows, midtones, highlights, and everything in between.
If we look at a histogram and see that the results are bunched up to the left, we can tell the photo will be on the darker side. If we see the results are toward the right, the photo will be bright. If the values are greatest at either end, we can tell the photo will be overexposed or underexposed.
Read our dedicated article on the histogram to get a better understanding of this tool.
How To Correct Exposure in Lightroom
Correcting exposure in Adobe Lightroom is extremely easy. We will now guide you through overall exposure adjustments. We will also touch on other fine-tuning adjustments to help you perfect your exposure.
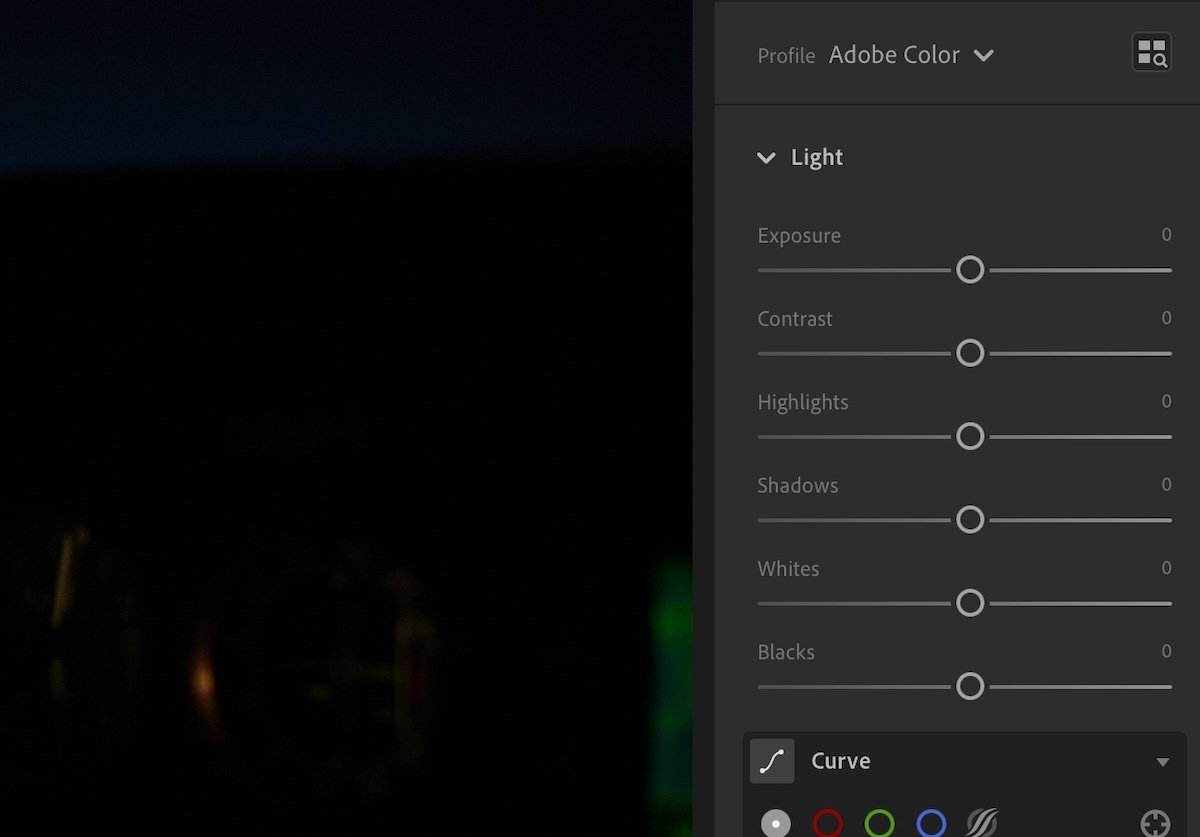
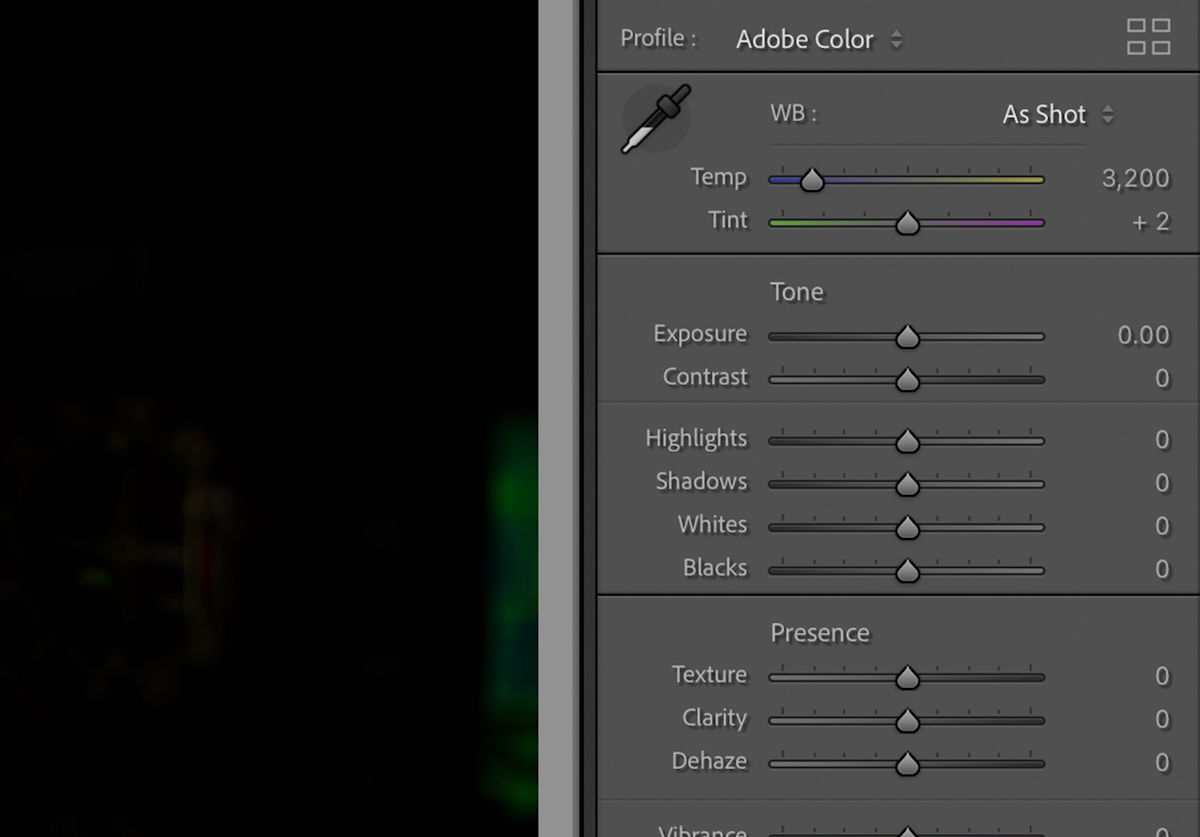
You can find all these sliders in the Light section in the Edit interface in Lightroom. In Lightroom Classic, you can find these in the Edit interface under Basic > Tone.
Exposure
Of course, the main method to correct the exposure in Lightroom is to use the Exposure slider. The slider increments mimic how the addition or subtraction of different stops of light will affect our image.
The slider allows us to adjust our image up to five stops of light in either direction. Lightroom has one of the most accurate exposure compensation sliders on the market. It treats the tones when adjusting the exposure very accurately, like how a camera would act.
You want to move the slider to the left to remove stops of light and to the right to add more light. If you’re heavily under or overexposed, you will need to move the sliders a fair bit. If you only want to make small adjustments to the exposure, do not overdo it.
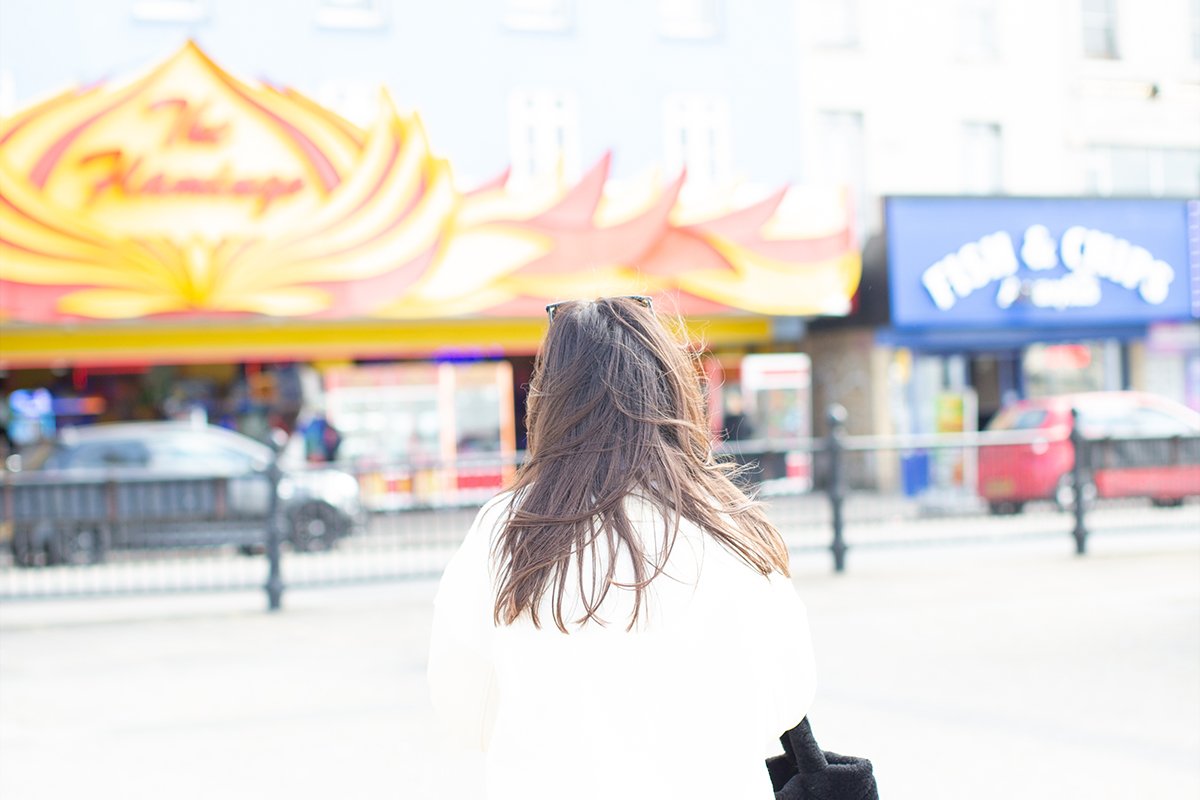
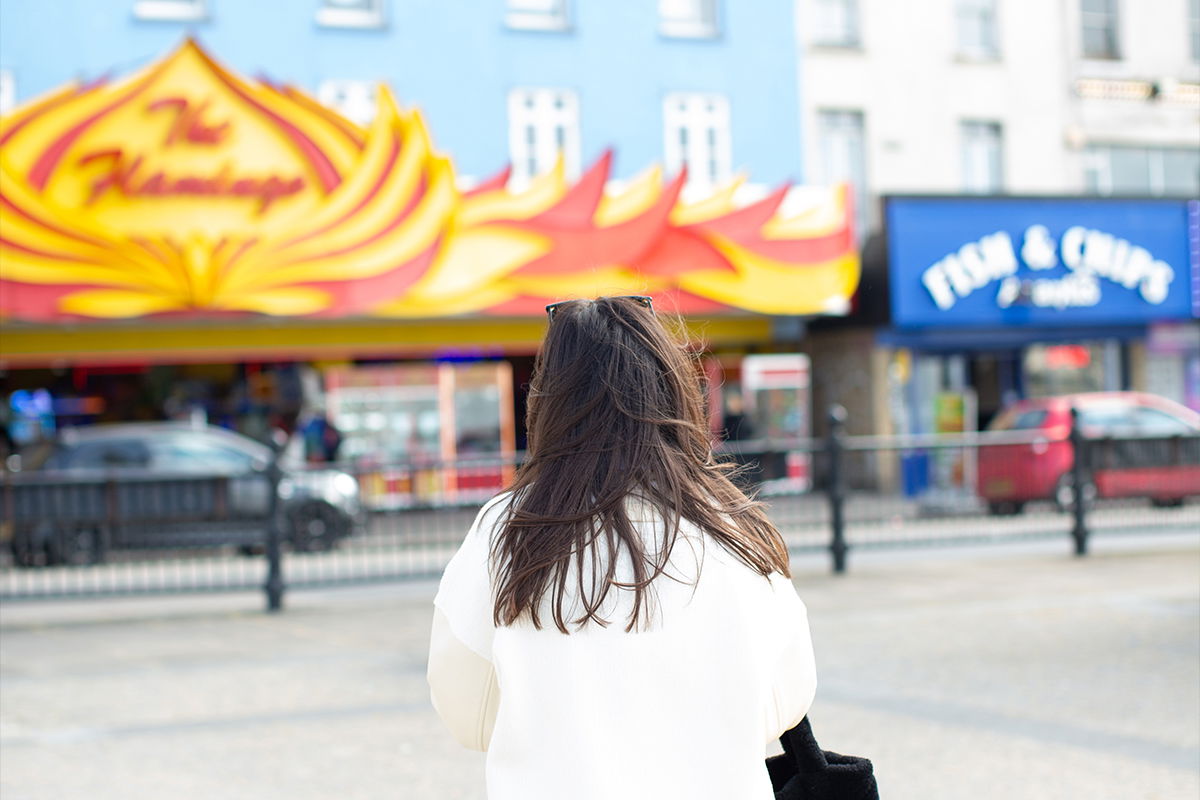
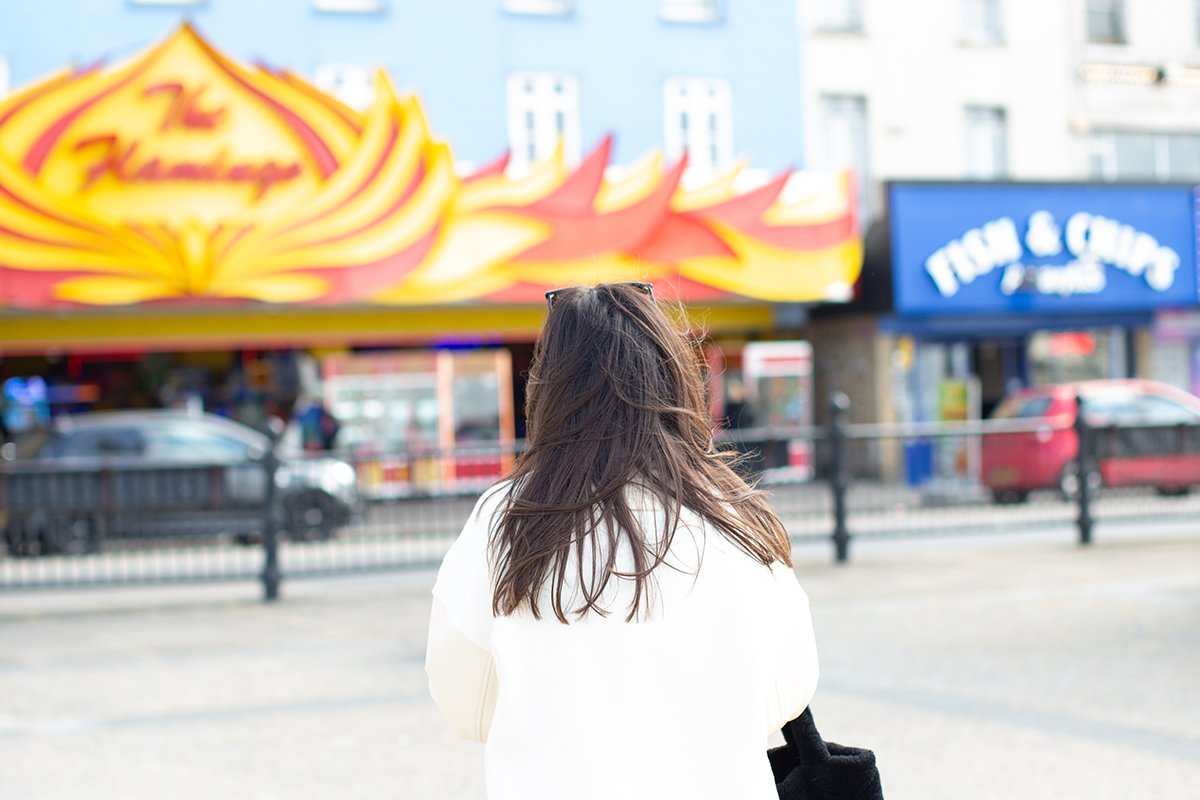
From the example below, we can see how much of a savior the Exposure adjustment can be. It can correct the mistakes we have made in the camera. So, previously unusable images are now salvageable.
Highlights/ Shadows
You will want to use the other tonal adjustments to fine-tune your exposure. The most effective are the Highlights and Shadows adjustments.
These adjustments will target the lower and higher sections of the histogram, leaving the midtones and blacks and whites. In fact, you will be able to see the areas each slider effects on the histogram when hovering over the slider in Lightroom Classic.
The Shadows slider is particularly effective. It can lighten up dark areas, which is extremely common in many facets of photography.
The Highlights slider counters the opposite, areas where light may wash out. This is particularly helpful for photographs taken inside on a bright day where the outside is visible.
The sliders provide a good amount of compensation. It is best to avoid targeting the shadows and highlights when moving the Exposure slider. Instead, target them after with these sliders.

Whites/ Blacks
The Whites and Blacks adjustments are for the extreme tones in your photograph. These sliders will adjust the values closest to being true black or white.
Overusing these sliders may produce flat results in your photograph. So, it would be best to use them sparingly.
Increasing the white or decreasing the blacks can easily wash out all information from these areas. So, these adjustments must be used with care. You can check with your histogram if you have pushed them too far.

Conclusion: Edit Exposure in Lightroom
This article shows that Adobe Lightroom is an incredible program for adjusting exposure. It treats our images with exposure compensation similar to how a camera would act. It produces convincing results that make it look like we achieved the right exposure in the camera.
Remember that it is best to use the Exposure adjustment to set the base tone of the image. Do not try to save the shadows or highlights here, as it may compromise other sections of your photograph. Instead, use the Highlights and Shadows adjustments to fine-tune your exposure.
About the author

By accepting you will be accessing a service provided by a third-party external to https://kendallcameraclub.org/