How to Edit Details in Photoshop (8 Tutorials)
This article looks at all the best ways to edit details in Photoshop. We cover everything from adding grain to reducing now. So if you want to learn more about editing details like a pro in Photoshop, keep reading.
How to Edit Details in Photoshop
Adobe Photoshop is one of the best photo editing programs out there. And using this powerful software to edit detail in your images in the best way to take your photos to the next level.
We have tutorials on adding texture, changing image resolution, and sharpen images. The following sections are just an introduction to each topic, so click the link in the text to learn more.
You can also see our full Photoshop Editing Guide.
Add Grain
Adding film grain in Photoshop can give your digital photos a vintage, timeless feel. The process is simple and quick. First, create a new layer and set its blend mode to Overlay.
Convert this layer to a smart object so you can edit the adjustments later.
Next, go to Filter > Noise > Add Noise to add the grain effect. Use the Gaussian option for a more realistic look.
Then, apply a slight Gaussian Blur (Filter > Blur > Gaussian Blur) with a radius between 0.5 and 1 pixel to soften the grain.
Since the grain layer is a smart object, you can double-click the Noise filter to adjust the amount of grain until you’re satisfied with the result.
To learn more about how to add grain in Photoshop, check out our full tutorial.
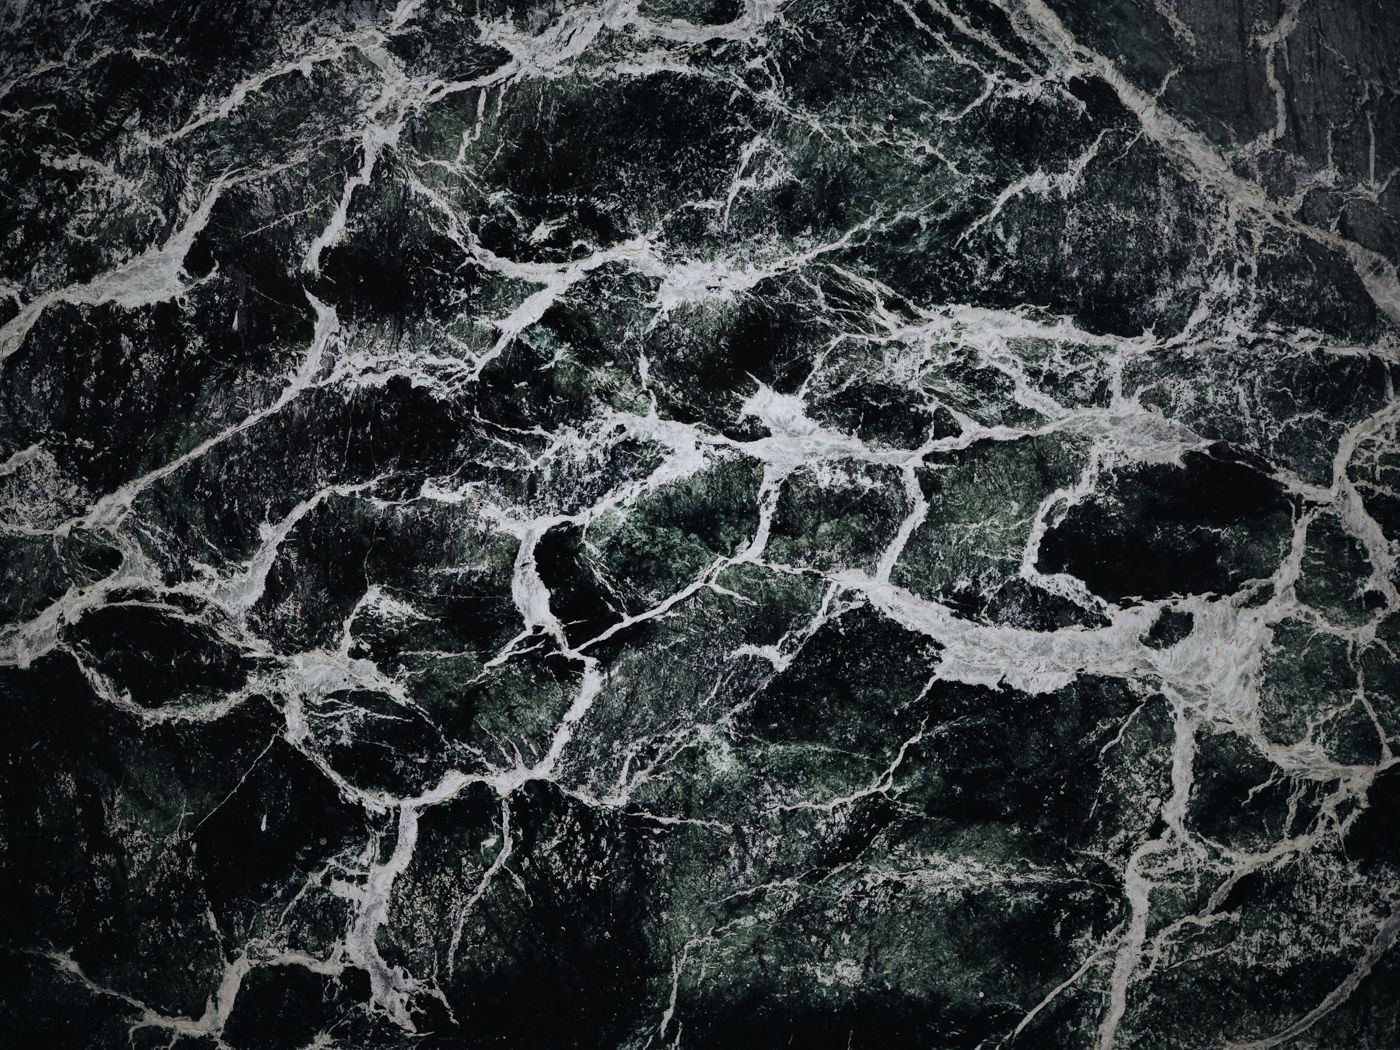
Add Texture
Adding texture in Photoshop is a simple process that can make your images pop.
Open your main image and texture file in Photoshop. Resize the texture layer to fit over your main image using the Free Transform tool.
Change the blending mode of the texture layer to see how it interacts with your main image.
Popular modes for textures are Lighten, Overlay, and Soft Light. Lower the opacity of the texture layer to find the right balance between the texture and your main image.
To remove or lighten the texture in certain areas, create a layer mask. Paint with a black, low-opacity brush over the places where you want to hide the texture.
You can add texture in Photoshop to multiple layers for an even richer effect.
Remove Chromatic Aberration
Chromatic aberration is an unwanted distortion of colors that sometimes appears on high-contrast edges in photos.
It happens when light of certain wavelengths gets bent by the lens. Luckily, it’s easy to remove chromatic aberration in Photoshop.
The lens correction filter does a great job at fixing chromatic aberration automatically. You can also use the sliders to remove specific colors manually.
Another way to remove chromatic aberration is by using Gaussian blur and blending modes. Duplicate the layer, apply Gaussian blur, and set the blending mode to “Color.”
Then use a layer mask to paint over areas where there’s no chromatic aberration.
Remove chromatic aberration in Photoshop with this full how-to guide.
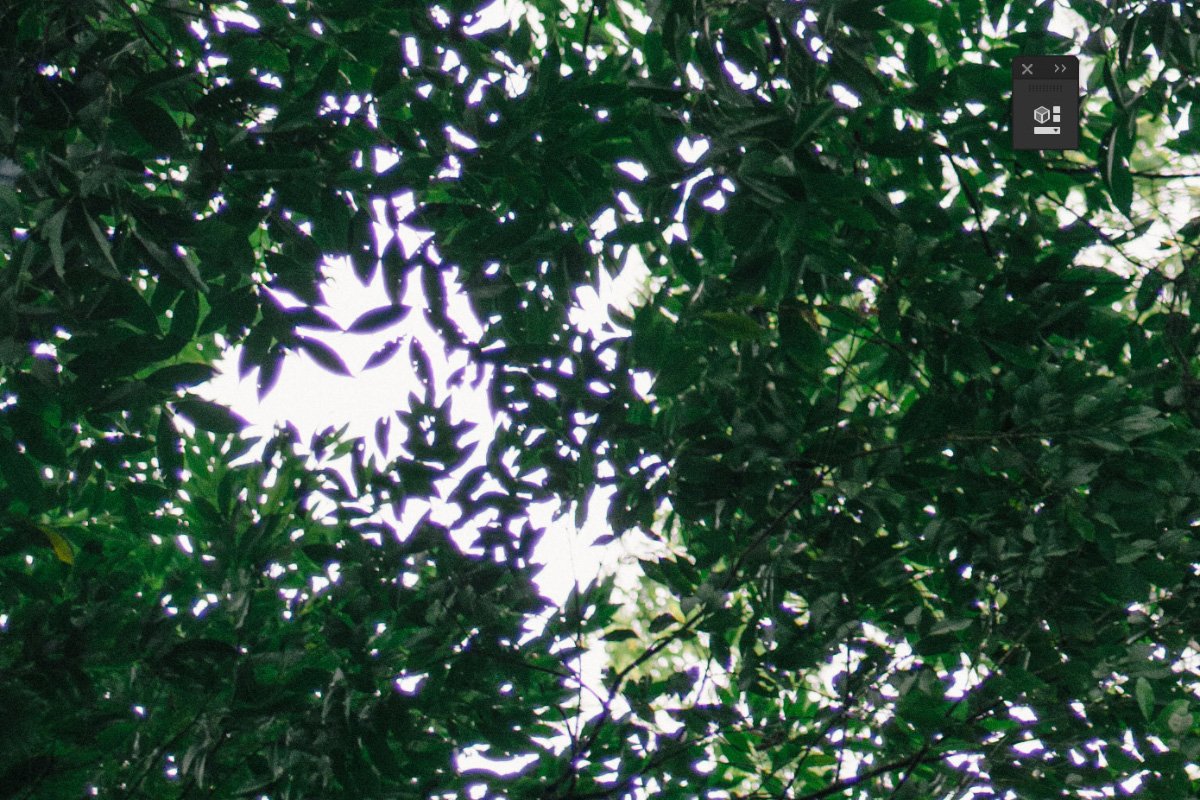
Gaussian Blur
The Gaussian Blur filter in Photoshop is useful for reducing noise, adding an artistic blur effect, or creating depth by blurring the background.
To apply Gaussian Blur, first duplicate the background layer to keep the original image safe. Then use a selection tool like the Pen Tool to create a path around the object you want to blur.
Convert the path to a selection and refine the edges if needed.
Go to Filter > Blur > Gaussian Blur and adjust the Radius slider until you get the desired amount of blur.
The Gaussian effect results in a smooth blur that looks like viewing the image through a translucent screen.
Gaussian Blur is perfect for blurring backgrounds or unwanted elements to make your subject stand out.
Check out our full article if you want to learn more about Gaussian blur in Photoshop.

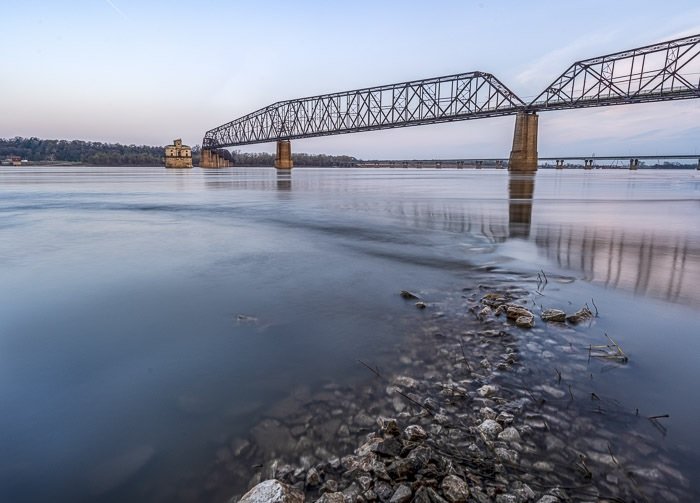
High Pass Filter
The high pass filter is a useful tool in Photoshop for sharpening images. It’s simpler to use than other sharpening tools because it only has one slider to adjust.
The high pass filter detects edges in a photo by looking for sudden changes in brightness between neighboring pixels.
To use it, duplicate the background layer and apply the filter. Adjust the amount of sharpening using the slider, then set the blending mode to “Overlay” to see the sharpening effect.
It’s important to zoom in to 100% when using the high pass filter to avoid over-sharpening. The best results usually show thin black lines with no white areas.
Learn how to use the high pass filter in Photoshop with this useful guide.
Change Image Resolution
Changing the resolution of an image in Photoshop is simple.
First, go to Image > Image Size to open the Image Size dialog box. Here you can see the current size of your image in pixels.
To change the resolution, type in the new width or height you want.
Photoshop will automatically adjust the other dimension to keep the aspect ratio the same. You can also change the resolution by setting the number of pixels per inch.
When increasing resolution, choose a resampling mode like Bicubic Smoother for the best results.
After resizing, it’s a good idea to sharpen the image using Filter > Sharpen > Unsharp Mask.
If you want to change the resolution of an image even further, check out our in-depth guide.

Reduce Noise
Reducing noise in Photoshop is easy with the Reduce Noise filter or the Adobe Camera Raw filter. These tools let you reduce luminance noise and color noise in your images.
If the built-in Photoshop noise reduction tools aren’t enough, there are also plugins available. Many of these work directly within Photoshop.
With all these denoise tools at your fingertips, you can fix photos ruined by excessive grain. Knowing how to reduce noise in Photoshop is a valuable skill for any photographer.
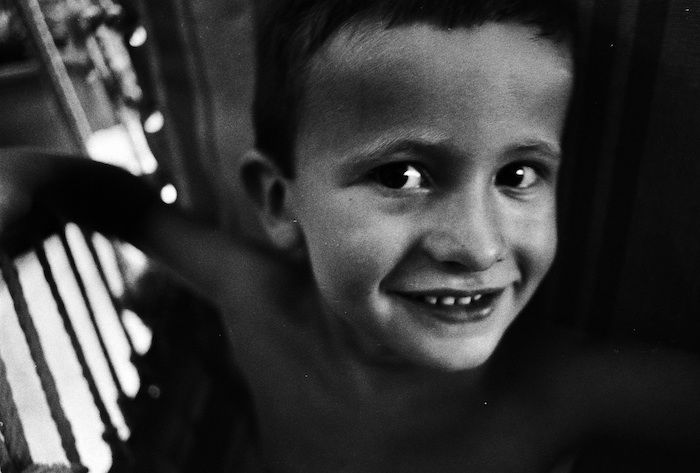
Sharpen an Image
Here are the key points on how to sharpen an image in Photoshop, written for your article:
Sharpening an image is a basic skill to learn when editing photos in Photoshop. Every digital image needs some sharpening, but too much will make it look unnatural.
Use separate layers for different sharpening amounts based on the final medium, like print or screen.
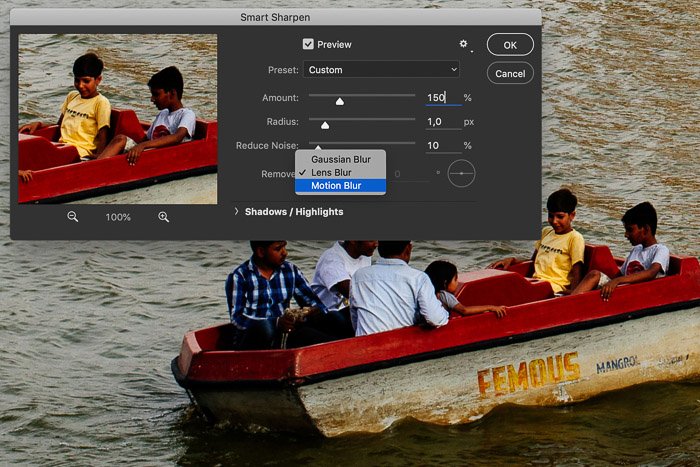
The best sharpening filters in Photoshop are Unsharp Mask and Smart Sharpen.
Unsharp Mask is the most common as it doesn’t increase noise. Smart Sharpen has a noise reduction slider to reduce noise that becomes visible after sharpening.
Choose the Remove option that best fits your photo, like Gaussian Blur, Lens Blur, or Motion Blur.
If you only want to sharpen specific parts of an image, use selective sharpening.
You can sharpen an image in Photoshop using the Brush Tool on a duplicate layer, sharpening a selection of the image, or using the Sharpen Tool for quick results.
This is useful for things like portrait photography where you want to keep skin soft but sharpen the eyes.
About the author

By accepting you will be accessing a service provided by a third-party external to https://kendallcameraclub.org/