Finding People in Lightroom (cloud)
Previously, we looked at how the facial recognition function, aka People View, worked in Lightroom Classic. I figured it would be useful to examine how the facial recognition function works in the cloud based Lightroom ecosystem as well. First off, if you sync your Lightroom Classic catalog to the Lightroom cloud you can certainly sync photos, and if those photos contain faces those faces will be analyzed and allow you to assign names to them. However, the people tags (keywords) assigned do not sync between Lightroom Classic and Lightroom. So, if you have photos in both applications, and you want to utilize the face recognition in both, you have to assign names manually in both.
That said, if you migrate a Lightroom Classic catalog to the cloud, then all assigned keywords should go along for the ride. This is typically for people who are moving from Lightroom Classic to Lightroom and plan to no longer use Lightroom Classic anymore. The main point to keep in mind is that keywords of any type do not sync. From here on out I will only be looking at the feature within Lightroom (on both desktop and mobile).
Enable People View
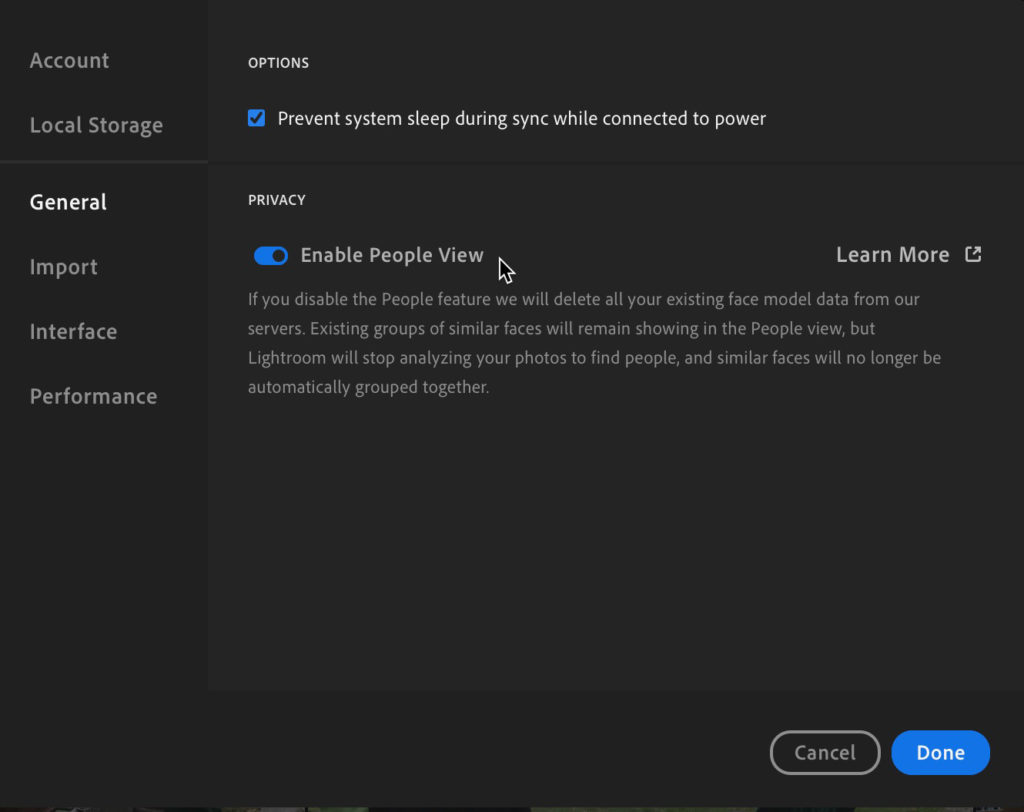
By default, People View is disabled. Head over to Lightroom > Preferences > General, and toggle the switch to Enable People View. If you had People View enabled and you disable it, then Lightroom will delete all stored face data and no longer analyze new photos. On mobile, the option to enable People View is found under Settings within the Lightroom app. You only need to enable it in one place.
Assign Names to Faces
Facial recognition takes place in the cloud (Adobe servers), and as such, is not immediate. Let’s start with looking at People View as it appears in Lightroom for desktop (Mac and Windows), then later we’ll look at it on mobile. Once enabled, click the People tab in the Photos panel on the left to jump into People view. As faces are analyzed they will automatically be grouped together with like faces.

You will likely have some faces recognized that you do not know or do not want to name. In those cases, right-click the face group in question and choose Hide Person to remove that group from view.
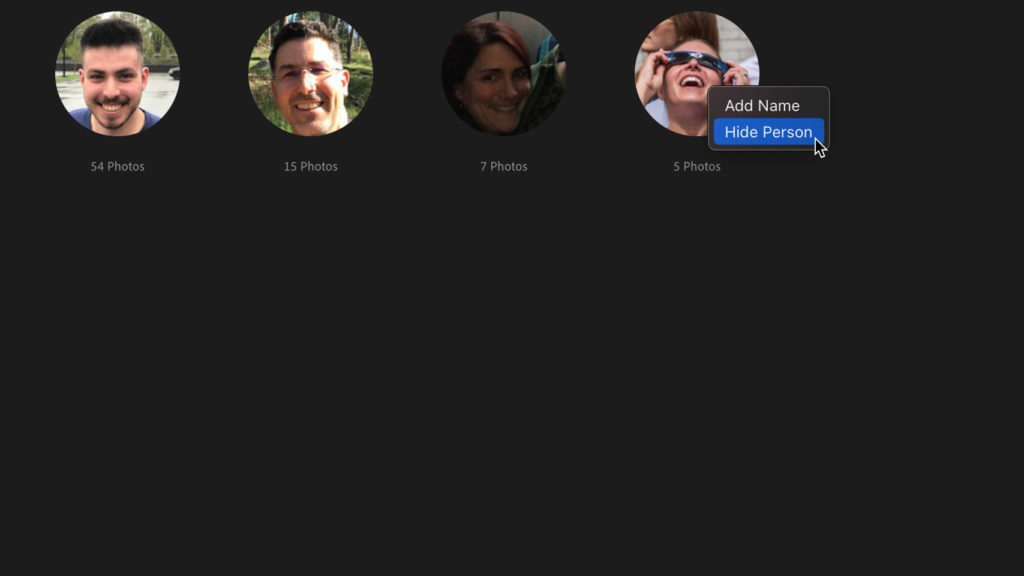
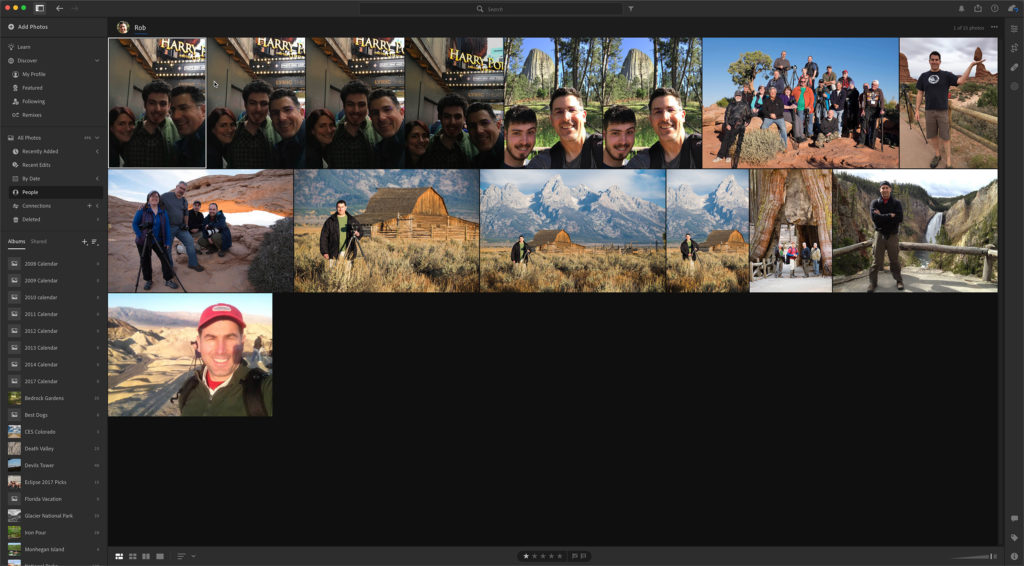
For faces you do want to name, click that face group to see all of the associated faces it has grouped together. Then, assign that person’s name to the group by typing it into the field at the top. By clicking into the group you can verify all of the faces are of that person. Note, you can also right-click a face group icon and choose Add Name from the contextual menu to add the name there. If a face group is already named you can right-click that face group and choose Rename if needed to correct or add info.
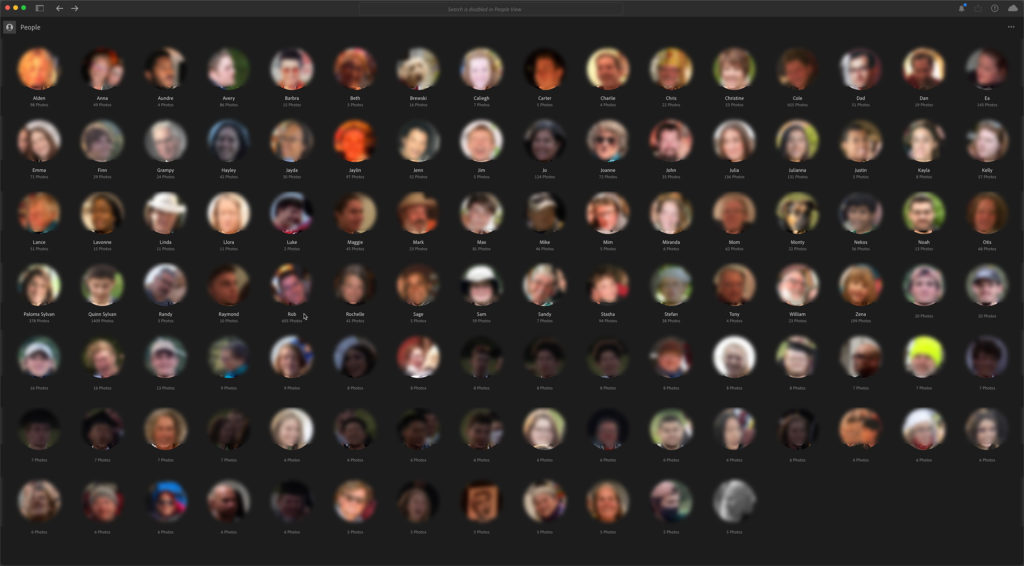
Over time, both as you import or sync new photos to the cloud, you will see more photos added to existing face groups as well as new face groups appearing in People view.
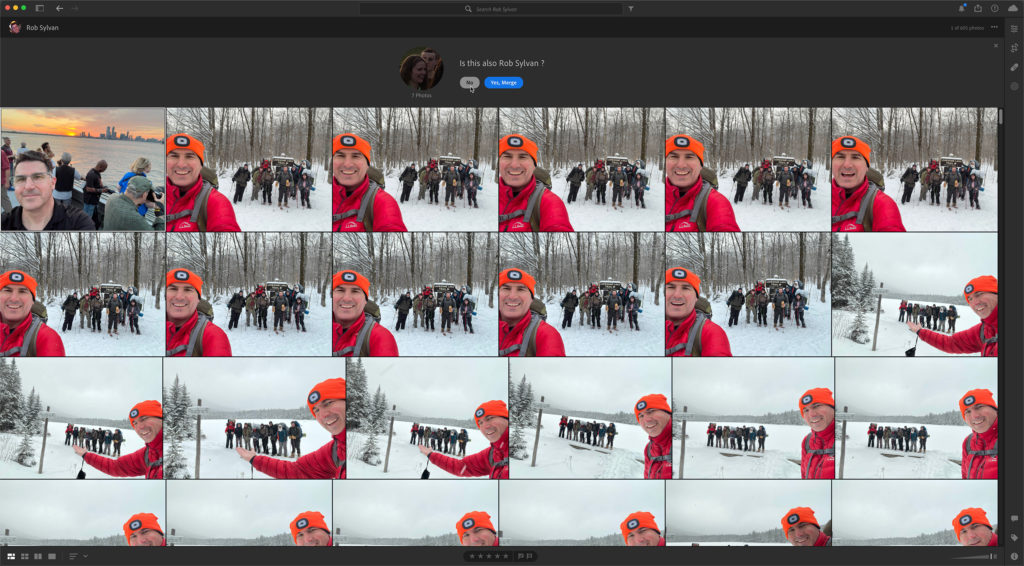
Click into an existing named face group to see if new faces were added that you can approve or reject as being that person. If there is a new face the algorithm wants to assign to an existing face group you will be asked if that new face is that person, to which you can answer No to remove it from that group, or Yes to add it to the group. In this case, the answer is No. Depending on how many new photos you’ve added or where you are in the overall analysis phase, you may get prompted several times for a given person.
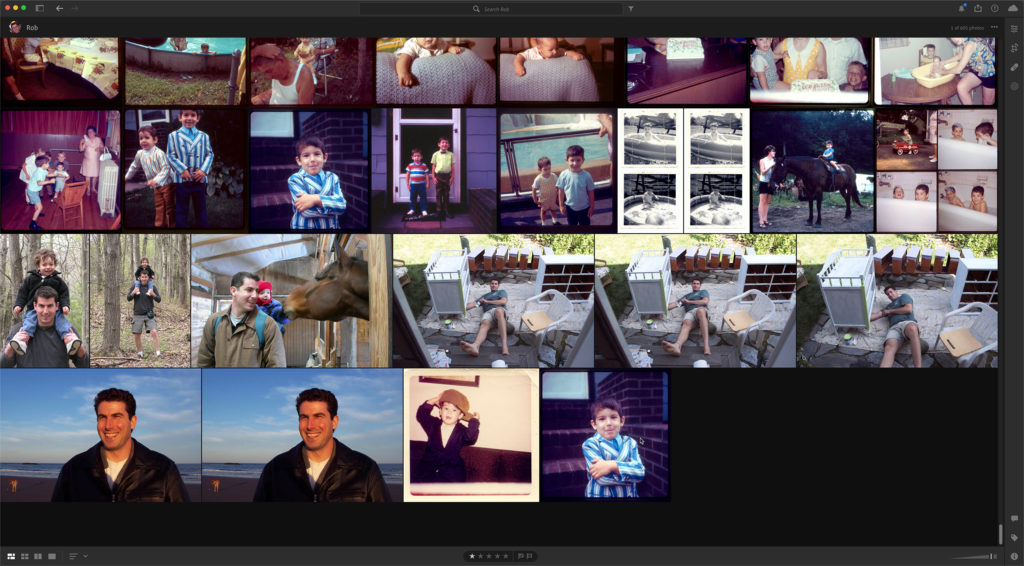
The more photos of the same person you add and identify the better the algorithm seems to be at recognizing a person across a long span of time. At the end is a young me in a pretty sharp Easter outfit.
Next week we’ll wrap this up with a look at manually adding names, merging face groups, and how this looks on mobile.
The post Finding People in Lightroom (cloud) appeared first on Lightroom Killer Tips.
By accepting you will be accessing a service provided by a third-party external to https://kendallcameraclub.org/