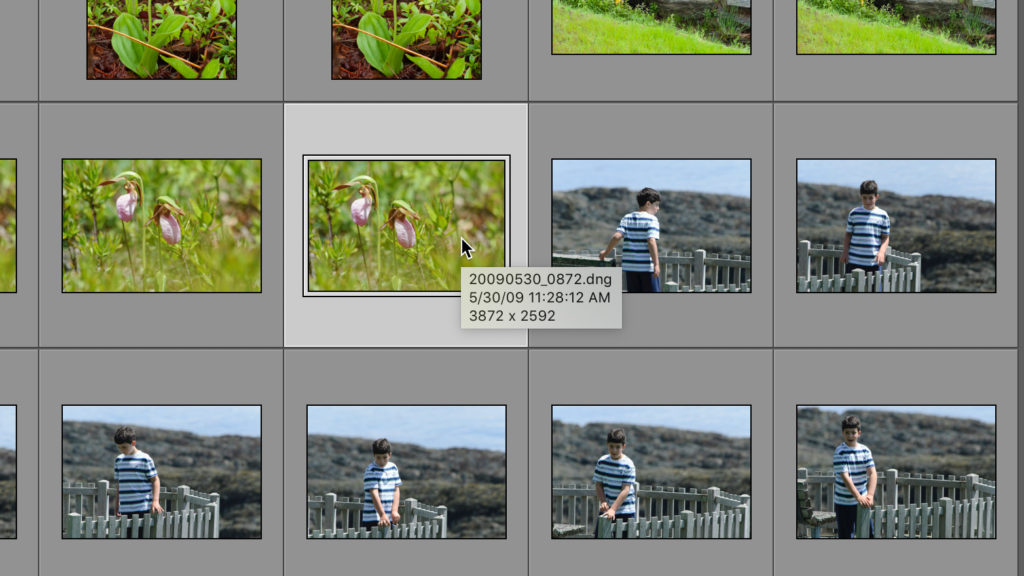
Have you ever placed your cursor over a photo in Grid view of Library or in the Filmstrip in Lightroom Classic (LrC), and seen a little tooltip appear with some information about your photo in it next to your cursor? Yeah, me too. Have you ever wondered how to configure that tooltip to display the information you might want to see displayed? Me too! Did you know that you can actually cycle through 2 different options? No? Here’s how to set this up to make it work for you.

View Options
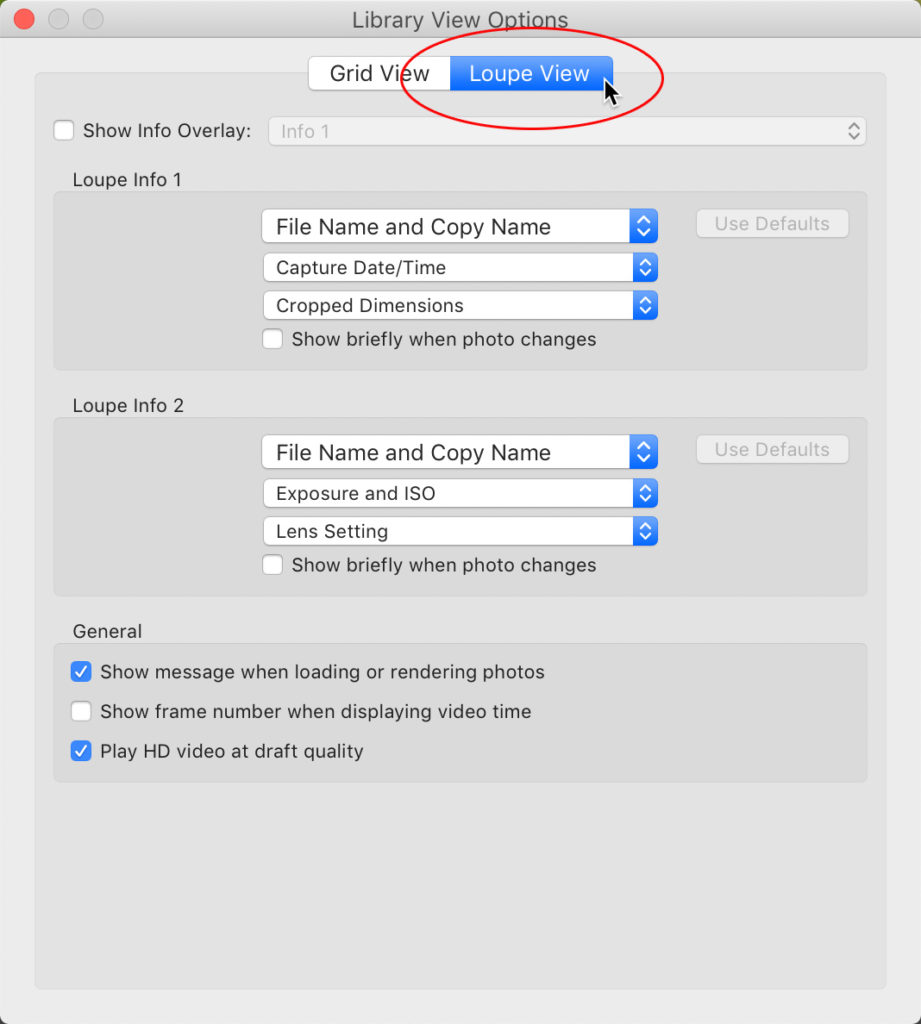
The secret to configuring what is displayed in that little Tooltips can be found by going to View > View Options, and then clicking the Loupe View tab.

Starting with Loupe Info 1, for each drop down menu, choose a data point that you would find useful either here in Loupe view or in a tooltip when hovering your cursor over a photo. For example, when looking in large collections or smart collections I’ve often found it useful to know the file type, folder where the photo is stored, and what camera it came from in that tooltip, so those are the options I configured for Info 1.
Pretty cool, no?
If I want or need to swap that info for what is configured in Info 2 I can press the I key (I for Info), then move my cursor off the photo, and then move it back again to see the Info 2 configuration displayed.
Definitely one of the less discoverable features I’ve come across in here, but now you know.
No Tooltip?
What if you didn’t want any tooltip to appear when you moved your cursor over a photo? Could be true for some of us some of the time. I found that if you set each option to None in either of the Info Overlays, when you cycle to the one set to None, you don’t see any tooltip at all.
The post Customizing the Tooltip Info Displayed appeared first on Lightroom Killer Tips.