I had the great pleasure of spending the morning of the summer solstice on a boat floating around the Midcoast of Maine with my buddy Dave looking for eagles, herons, seals, ospreys, lighthouses, and any other cool sights we might encounter. I had my Canon R5 and RF100-500 lens for the trip. The morning started out with heavy fog, as can happen along the coast of Maine in the summer. After carefully making our way down the river we stopped off in Bath for a hot drink and delicious pastry while we waited (and hoped) for the fog to lift. This is such a gorgeous area, and while a moody foggy day can be pretty magical, we were hoping for a bit more light, and by the time we finished our drinks the sky was getting brighter.
We spent about 5 or so hours on the river, and I was so grateful for getting to spend the first day of summer in a boat (thanks, Dave!). There is an incredible abundance of life along those waters, and we saw dozens of harbor seals, multiple osprey nests, bald eagles all around, and even a few sturgeon jumping completely clear of the water. If you’ve never been to Maine in the summer you’re really missing out. At the end of the trip I popped the SD card out of my camera and used the Lightning to SD Card Reader to quickly view and download a few of the photos from the day onto my iPhone. Considering the size of the raw files from the R3, I only wanted to pick 5 or 6 photos to transfer, edit, and share before hopping in my car for the ride back to New Hampshire.

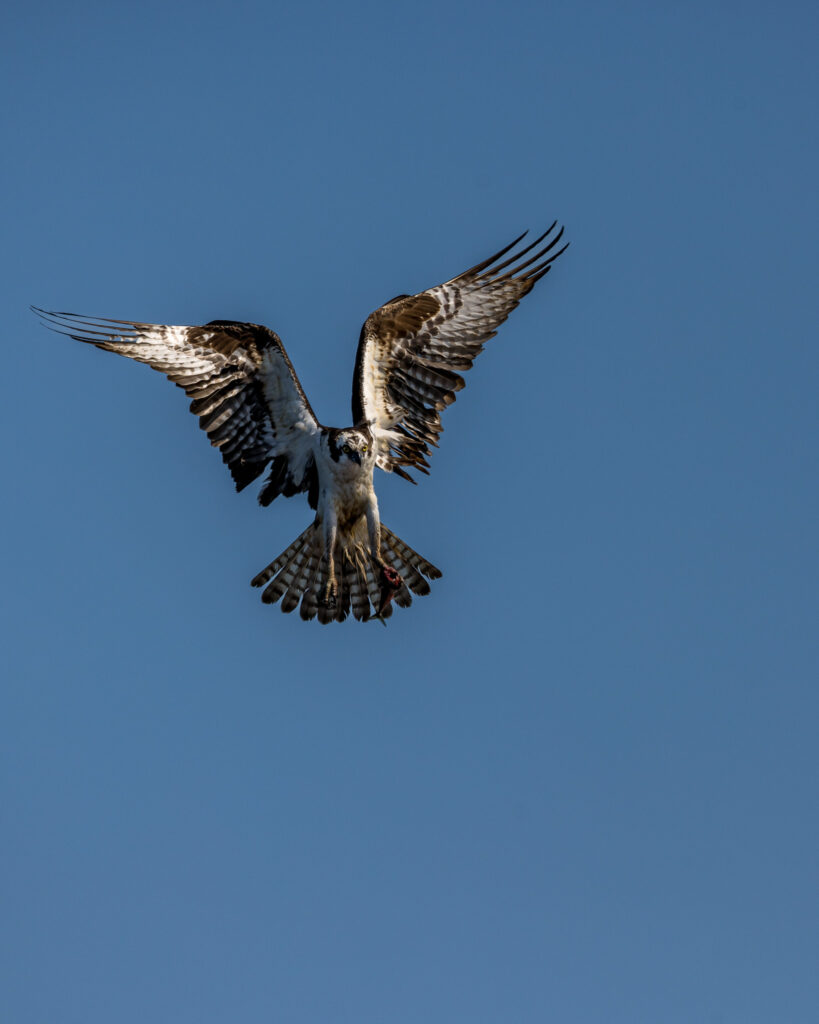
Some of my favorites were of this pair of ospreys coming into their nest on top of a buoy. I love the moment when a bird’s wings are completely open as they come in for a landing. One of the benefits of the R5 is all that resolution for cropping in just a bit tighter, so after adjusting the tonality and color, I cropped it as a vertical 4×5 for sharing on social media, and then used masking to selectively edit the osprey.
I had downloaded one other similar osprey shot, so once I finished editing the first one I tapped the 3-dot menu and chose Copy Settings to open the Copy Settings dialog where I could select all of the settings I wanted to paste onto the similar photo.
I was in a hurry to get on the road, so I just selected them all.
It is worth noting that if you have masks applied, you can tap into the Masking option and choose which masks you want to copy along with the rest of the settings. In my case I wanted both masks, but that may not always be the case.
With the settings copied, I switched to the next photo, tapped the same 3-dot menu, but then chose Paste settings to apply all the same settings to the next photo. Now the bird’s wings were not in the same position as the first photo, but the AI-based mask was for subject, so Lightroom simply recomputed the mask for this photo, and then applied all the settings. Such a time saver!
I had also grabbed one of the heron in flight photos, so I switched to that one and pasted the same exact settings, and it recomputed the mask and worked like a charm for that photo too. So the next time you are editing in Lightroom mobile, be sure to give the copy/paste settings option a try and see how you like it.
The post Copy and Paste Settings in Lightroom Mobile appeared first on Lightroom Killer Tips.