Cold Weather Photography: How to (Safely!) Take Photos in the Cold
The post Cold Weather Photography: How to (Safely!) Take Photos in the Cold appeared first on Digital Photography School. It was authored by David Shaw.

In this article, I’ll explain everything you need to know for cold weather photography, such as:
How to protect your cameras and lenses from condensation and freezing How to keep yourself safe when out shooting (including key gear recommendations) How to keep your camera working long after other photographers have called it quitsYes, capturing cold photos is a challenge. But if you put in the effort and you take the proper precautions, you can photograph some of the most beautiful conditions on the planet.
Let’s dive right in.
 |
 |
1. Dress properly

If you’re after stunning cold weather photos, you’ve got to dress right.
It doesn’t matter whether the light is beautiful and the scenery is jaw-droppingly gorgeous; if you get frostbite on your fingers and can’t operate the camera, you won’t get the shot (and you will get a trip to the hospital).
So what should you wear? The specifics depend on the weather, but I’m a big proponent of layers. When dressed in my winter-photo clothing, I feel a bit like an onion, because I wear long underwear underneath, then a fleece or wool sweater and pants, then a down or synthetic vest, an 800 fill down jacket with a hood, windproof Thinsulate pants, two pairs of thick wool socks topped by expedition-quality winter boots, a musher’s-style hat complete with ear flaps, a balaclava or face mask, and nimble gloves with a pair of expedition overmitts dangling from wrist straps. And I’ll often throw a couple of chemical hand warmers into my jacket pockets.
Here are two of my clients on a photo tour, properly dressed for the weather:

It’s not fashionable, but it’s safe, and that’s what counts.
Now, depending on your photoshoot location, my list of clothing might be overkill. I live in Alaska, where temperatures drop to -40 Fahrenheit. But if your winter temperatures tend to hover around 20-40 Fahrenheit, then you can dial back the number of layers, and you can potentially do away with the balaclava and windproof pants.
Regardless of your location, however, I do recommend a warm hat, an insulated jacket, good boots, and two pairs of gloves (one set of thin gloves that you can use to easily operate your camera, and one set of thicker gloves or mittens that your thinly gloved hands can fit inside). And the hand warmers are always nice to have around, especially on those ultra-cold days when you can barely bring yourself to head outside.
2. Pay attention to your batteries
A cold battery won’t work as well as a warm battery – so on a brutally cold day, your camera and flash batteries will last only a small fraction of the time they would at room temperature.
To prevent any problems, here’s what you should do:
Make sure your batteries are completely charged before heading out to shoot. Each and every battery should be fully powered and ready to go, because every drop of electricity counts. Carry as many spare batteries as possible. You can buy extra batteries from all the standard photography retailers (though make sure they’re compatible with your specific camera model!). You might also consider purchasing third-party batteries. Keep all your spare batteries in your inside jacket pocket. That way, they stay as warm (and charged) as possible. You can even put dead batteries back into your camera after time in a warm pocket, and they’ll let you shoot for another handful of minutes. I find I can photograph at extremely cold temperatures for the better part of a day by cycling two batteries back and forth from my pocket to my camera, though the specifics will vary, depending on your camera’s power requirements.
3. Don’t breathe near your lens
Have you ever tried breathing on your lens in the extreme cold? Don’t. Here’s what’ll happen:
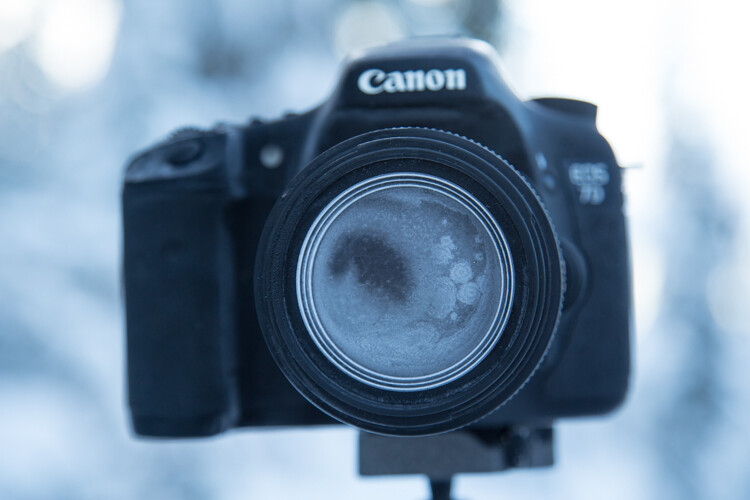
In other words, a warm, humid breath will condense on your lens, resulting in a layer of milky frost on the glass. It doesn’t matter how much money you spend on your lenses; no amount of sharpness will make up for that damage, and your lens will be out of commission for the rest of the day. Wiping at the frost usually just smudges it more, and defrosting the lens inside (see below) can take hours.
Bottom line: Watch where you breathe. If you turn your camera around to check lens settings, don’t exhale. And if you’re standing in front of your camera, don’t let out a badly aimed breath.
I’d also recommend wearing a neck gaiter or balaclava; when this is pulled up over your mouth and nose, your breath will be directed upward where it’ll frost on your eyelashes instead of your camera. (Make sure you also pay careful attention to moisture on the viewfinder, which can be a major cold weather photography problem!)

4. Use your lens cap
While foggy lenses are often caused by breath or sudden changes in temperature, when shooting at night, there’s always the chance that natural frost will form.
To avoid this, snap on your lens cap when you aren’t shooting. Get in the habit of using that lens cap whenever you’re taking a break, searching for a new composition, or walking from one location to another.
Personally, when I’m out shooting the aurora at night, my cap is on my lens, even if I’m just walking a short distance to a new shooting location.
I’d also recommend using a clear filter on the front of your lens. That way, if you do end up with lens frost and it gets scraped or smudged, you don’t need to worry about damaging the lens’s front element.

5. Seal your gear before going back inside
Did you know that a rapid move from a cold environment to a hot environment can cause condensation on glass? It’s why glasses tend to fog up when coming in from the cold, and why, on a hot day, a cold beer glass gathers condensation.
For lenses, this can be extremely problematic. A cold lens brought directly inside will fog up, so you won’t be able to use it for any indoor photos – and the excess moisture can lead to smears, smudges, and potentially even fungus on the front lens element.
Fortunately, there’s a way to prevent this. Simply put your camera gear in a sealed airtight compartment – such as a simple ziplock bag – before heading inside. Then let it adjust to the warmer temperatures for a few hours.
That way, if you decide to go indoors to warm up, you can keep your gear safe and free of condensation. Then, when you’re ready to go back outside, your gear will be in perfect shape (just keep it sealed until you’re back in the cold).
And even if you’re heading inside because you’re done for the day, sealing up your gear is a great idea, as it’ll keep your lenses moisture free!

Check out my bagged-and-sealed camera, ready to be taken back indoors after a cold outdoor shoot.
Pro tip: While ziplock bags work well for sealing up your gear, I prefer lightweight roll-top dry bags like those used by boaters. They’re tough, reusable, and work like a charm!
Cold weather photography: final words

The cold scares a lot of photographers, and rightly so. But with a few precautions – bringing warm clothes, charging spare batteries, avoiding frost, and protecting against condensation – you can keep your gear safe, and you can capture plenty of beautiful photos along the way!
Now over to you:
How do you like to shoot in the cold? Do you have any additional cold weather photo tips that we missed? Share your thoughts in the comments below!
The post Cold Weather Photography: How to (Safely!) Take Photos in the Cold appeared first on Digital Photography School. It was authored by David Shaw.
About the author

By accepting you will be accessing a service provided by a third-party external to https://kendallcameraclub.org/