10 Travel Photography Tips for Breathtaking Images
The post 10 Travel Photography Tips for Breathtaking Images appeared first on Digital Photography School. It was authored by Natalie Denton (nee Johnson).

Planning a trip or vacation? Want to capture gorgeous, memorable images on your next travel outing?
In this article, I share my top ten favorite tips for travel photography, including:
Gear advice to get you startedHow to successfully prepare before photographing a new destinationHow to come back with unique photos of popular subjectsMuch more!By the time you’re finished, you’ll be ready to embark on any adventure with your camera – be it a quick trip to your favorite city or a lengthy vacation to a far-flung part of the globe.
Let’s dive right in.
1. Travel light
Travel photography, by its very nature, is inspirational and exciting. So when packing for a trip, it’s easy to get carried away and end up with multiple camera bodies, handfuls of lenses, a dozen accessories, and more.
But this presents various problems. For one, the more equipment you have, the more you’ll be weighed down when shooting – which will lead to discomfort and a lack of inspiration. Plus, practicalities such as baggage allowance and insurance costs often mean that taking lots of equipment becomes very expensive. (In fact, if you are dead-set on working with more than a minimalist gear setup, it may be cheaper to rent equipment on arrival.)
My advice: travel as light as you can. Pare down your kit until you have:
One travel camera body (two, if you have room for a spare in your bag)A wad of memory cardsA lightweight mini tripod or even a super-flexible GorillapodA portable storage unitA pocket-sized compact cameraA flashA small selection of travel lensesA durable camera bag that distributes the weight evenly over your shoulders and protects against heat, cold, sand, and moistureThat way, you’re able to travel comfortably and avoid extra costs.
2. Use a flexible zoom lens

Here’s one of the easiest ways to decrease your gear load when traveling: Do away with your array of lenses and instead carry a single, high-quality zoom.
What kind of zoom is best? I’d recommend purchasing an 18-200mm or a 28-300mm lens, if possible. Really, the focal length specifics aren’t important; instead, it’s about carrying a lens that shoots at wide, standard, and telephoto focal lengths – so you can capture stunning landscapes, standard portraits, and distant buildings.
And pay attention to the lens’s maximum aperture. The wider the aperture, the better, as it’ll let you capture beautiful images even in low light.
If, after packing your all-purpose zoom, you have extra room in your bag, you might also consider taking a small prime lens (such as a 50mm or an 85mm, useful for portraits and low-light photography). And if you’re serious about landscape photography, an ultra-wide lens, such as a 12-24mm, is often a good idea.
3. Use the right shooting modes and settings

If you’re after the highest-quality images, then I highly recommend you implement a few specific modes and formats into your travel photography.
First, make sure you’re shooting in RAW. It’ll give you maximum post-processing flexibility, and while RAW files do require editing, the result is worth it.
(Not ready to switch directly to RAW? Consider shooting in RAW+JPEG, which produces both types of files each time you hit the shutter. It takes up more space, so make sure you have plenty of memory cards!)
Second, get off Auto mode and shoot in Aperture Priority, Shutter Priority, or Manual mode. All three of these options gives you control over your camera exposure settings, which is key if you want to capture detailed, creative photos. Aperture Priority is often a good place to start, but if you like the idea of digging in and really understanding all your camera settings, Manual mode is another great option.
Third, adjust your aperture and shutter speed for different creative effects. Aperture affects the depth of field (i.e., the amount of the image that’s in focus); you can create beautiful background blur by shooting with a shallow depth of field. Shutter speed adjustments will keep your travel photos sharp, even when capturing action – though you can also slow down the shutter speed to artistically blur moving subjects.
4. Take nightly notes
Every night, after a hard day’s work with your camera, take the time to jot down a few notes in a journal about the day’s events. It may sound unusual, but it really does make a difference.
For one, it’ll help you add keywords and descriptions when you organize your images later on. And it’ll help jog your memory months or years later, allowing you to share otherwise-forgotten stories (and the accompanying photos) with friends and family.
Don’t just include notes about events, however. I’d also encourage you to write down any technical or artistic thoughts. After all, if you’re spending hours and hours in the field, you’re bound to enhance your photographic knowledge – of exposure, of composition, of autofocus techniques, and so much more. By taking the time to write down any key realizations, you’ll help cement them in your own mind, and you’ll also create a little reference journal that you can reread (and re-learn from!) years down the line.
5. Scout locations in advance
Scouting is an underappreciated and underutilized part of travel photography – but in my view, it’s absolutely essential.
Without scouting, you may never find the best views, the best architecture, and the best street scenes. You may not photograph attractions at the right time of day, either, which means that your photos won’t be as good as they can possibly be.
However, with some careful scouting, you can turn all that around. (Plus, scouting might turn out to be more fun than you expect!)
Here’s what I recommend:
In the months leading up to your trip, do some thorough research on the internet. Everyone’s process is different, but you might consider looking at other photos captured at the location, articles discussing key photography spots, or even satellite images on Google Earth.Make a list of all the key locations you want to photograph. Consider the position of the sun and how it will affect your opportunities. Determine whether each location is best visited at sunrise, sunset, or midday. And feel free to prepare a shot list for on-location use.When you arrive at your destination, consider walking to the local tourist information center. Ask the staff for any recommendations, as they’ve often spent a lot of time on the ground and have likely interacted with plenty of photographers. If you have the time and money, you might even ask whether there are any local guides or fellow photographers who can show you some of the best areas.Finally, use all of your research and planning to tackle each opportunity.One caveat, however: You need to be prepared to drop everything and change your approach at a moment’s notice. When traveling, things can happen: the weather might not cooperate, your transportation might fail, or (on a more positive note!) you might run into a better opportunity. Don’t focus so much on your plans that you fail to adapt to real-life conditions.
6. Ask for portraits

We’d all love to grab those beautiful travel portraits – the kind of portraits that express the subject’s culture and character – but many of us choose to fire off a telephoto shot from meters away out of fear of rejection.
But here’s the thing: up-close, personal, intimate portraits are so much better than images taken from a distance. And plenty of people are happy to wait for a moment while you take your shot, provided you ask for permission.
So take a deep breath. And just go for it. “Excuse me, could I take your photo?” The worst that could happen is that they decline. And when you think about it, that’s actually not that bad.
Plus, chances are that they will smile and nod their head in agreement. Then you can capture your shot.
By the way, if a person does agree to sit for an image, then be sure to thank them and show them the LCD monitor afterward. You might even take a few images, especially if they seem relaxed. But don’t linger. When it’s time to move on, then move on.
7. Take proper precautions
Most places are relatively safe. But even the safest places have their rough parts, and you – as a tourist carrying thousands of dollars worth of equipment – are often an ideal target.
So when you’re out shooting, be careful. Always tell someone where you’re headed, never take more gear than is necessary, carefully check your routes in advance, and even as you shoot, pay attention to your surroundings. If you feel uncomfortable in a certain area, then consider moving on.

I also recommend you take certain steps prior to your trip. Take out adequate travel insurance – that way, if you get injured or sick, you won’t have to pay thousands of dollars for medical care. And get an insurance policy on your gear. Some policies even pay for emergency gear rentals in the event that your equipment is stolen.
(Note: Before purchasing travel or gear insurance, be sure to check the policy carefully. You may find that certain activities and situations aren’t covered, such as adventurous activities and gear water damage. The devil is in the details!)
Also, invest in solid luggage locks and maybe even an anti-theft bag (there are plenty of good ones designed specifically for photographers!). And pocket a small amount of local currency in an easy-to-reach place, then keep the rest of your cash elsewhere.
Finally, keep a list of emergency numbers and phrases on your person. It might seem like overkill, but better safe than sorry, right?
8. Think outside the box

Photography is all about creativity. But if you only shoot the obvious travel photography ideas – the kind that you’ll find in any tourist guidebook – then you’re bound to feel uninspired, bored, and (pretty soon) burned out.
Of course, certain views are popular for a reason. They often look strikingly beautiful, and it can be fun to capture your own version of a timeless image, even if it’s not strictly original.
So have your fun. Take the popular shots. But then go farther. Look for unique angles and compositions and lighting. Consider your creative possibilities, such as shallow depth of field effects and even intentional camera movement techniques. Try to see the scene from a perspective that is very you.
My recommendation? Limit yourself to ten safe photos, where you focus on nailing the exposure and other technical qualities. Then unleash your creativity.
A few ideas for original images:
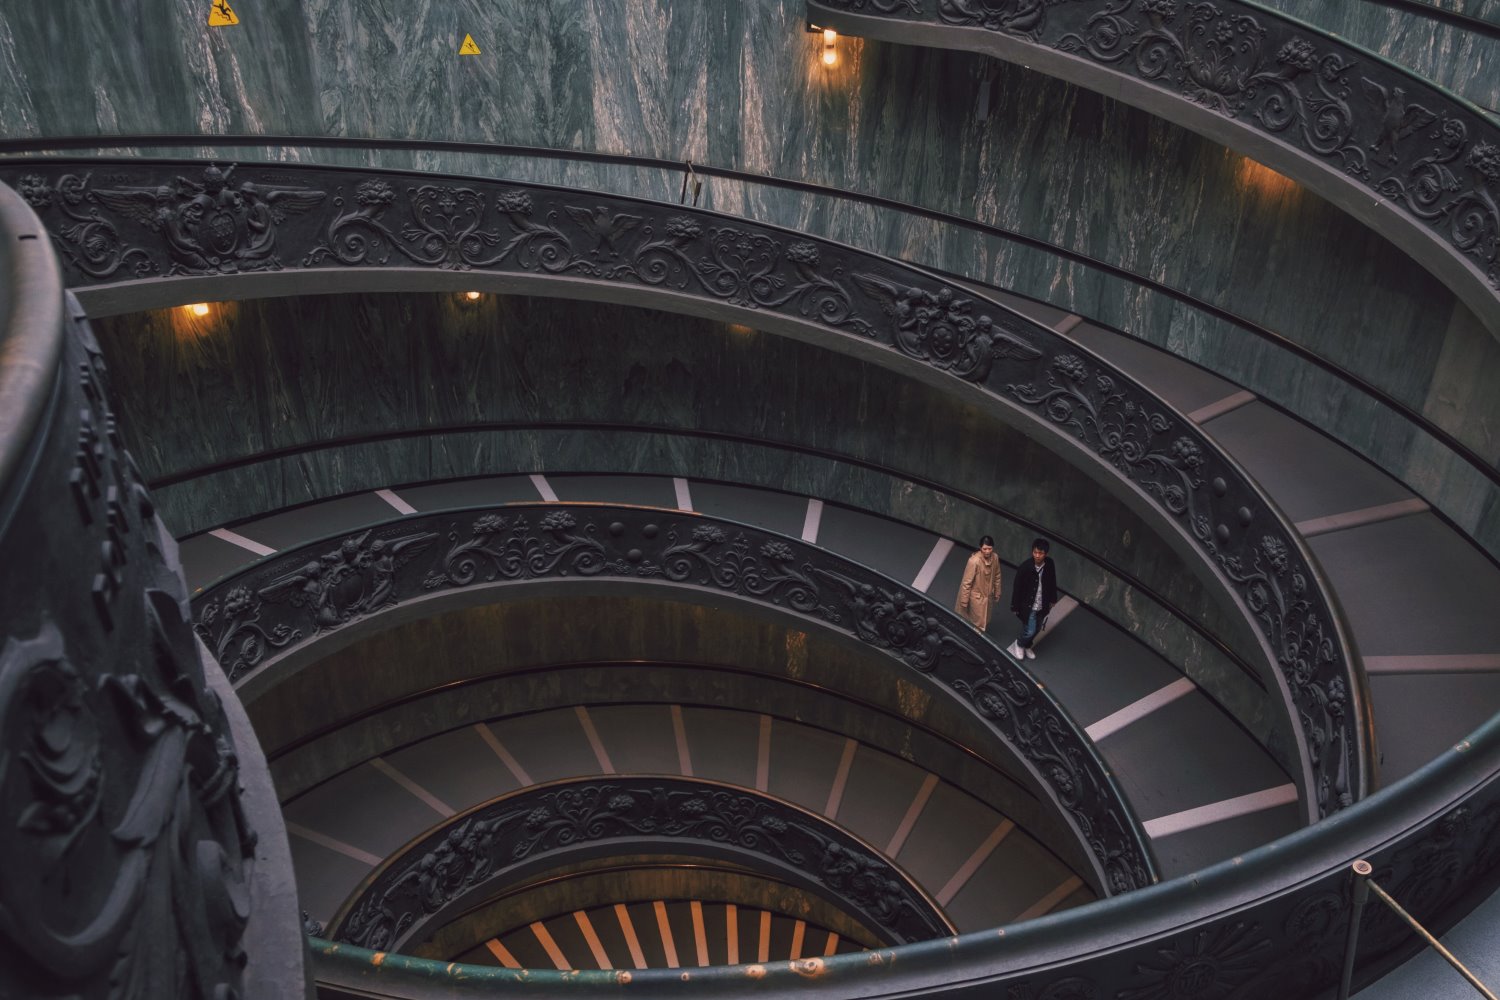
Shoot from the ground with a wide-angle lens (even if it makes you dirty!)Climb some stairs and shoot from aboveWait for dusk, mount your camera on a tripod, and slow down the shutter speed (to capture a stunning shot full of beautiful light and colors)Work on compositions with leading lines, diagonals, and frame-within-a-frame elementsReally, the sky is the limit. It’s art, after all. So flex those artistic muscles!
9. Research your location

Technically, this is part of the scouting process, but it’s so important that I decided to give it a section of its own.
When I say that you should “research,” I’m not just referring to shooting locations, scenic vistas, and so on. I mean that you should really dive into the culture and history of your travel destination. Try to understand what’s unique about the location. Try to understand what living in the location is truly like.
Also, if you haven’t yet booked your travel arrangements, check the local calendar for spiritual or religious events, traditions, national holidays, and cultural celebrations. Then schedule your trip to coincide with one (or more) of these events. Visiting during the right time can offer an astonishing breadth of photographic opportunities, especially if you’re a fan of portrait and documentary images!
10. Once your trip is over, do something with the images

So many beautiful images languish on hard drives. They go unshared. They go unviewed. They go unused.
Don’t let your hard work go to waste.
Once you’ve arrived back home after a trip, go through your images. Organize them carefully, find the best shots, and enhance them with editing.
Then consider what to do next. If you’ve bagged some wonderful photos, you could enter a travel photography competition. You might consider uploading the files to a stock site to gain a bit of extra revenue.
You might also use your images as the start of a portfolio, which you can use to approach magazines, travel guides, and tourism websites.
Finally, whether or not you decide to make money off your photos, be sure to share them with family and friends, either in person or on social media. You could even put together a little presentation where you discuss your travels, tell stories, and share your favorite shots.
Travel photography tips: final words
Travel photography may seem like hard work, but it’s a lot of fun, and it can be so rewarding.
So remember these tips. And the next time you go on a vacation, you’ll be guaranteed to capture some stunning photos!
Now over to you:
Which travel tip is your favorite? Which do you plan to follow? And where will you travel next? Share your thoughts in the comments below!
Table of contents
Travel Photography
The post 10 Travel Photography Tips for Breathtaking Images appeared first on Digital Photography School. It was authored by Natalie Denton (nee Johnson).
About the author

By accepting you will be accessing a service provided by a third-party external to https://kendallcameraclub.org/